A sagging fence gate usually comes down to one of two things: a post that has moved, or a gate frame that has pulled out of square. Find out which one you have first. A loose post needs to be reset. A racked gate needs to be squared and braced, often with a diagonal brace or a cable-and-turnbuckle kit. Below you will find how to tell the difference, how to fix each problem, and how to keep the gate from dropping again.
TL;DR
- Wiggle the hinge post and check its base for rot. If the post moves or is soft, fix the post before touching the gate.
- Measure both diagonals of the gate. If they differ, the frame has racked into a parallelogram and needs squaring.
- A brace only works in the right direction: wood runs from the top of the latch side down to the bottom of the hinge side. A cable runs the opposite way.
- Re-check the latch strike plate after squaring. A small shift is normal.
- Deep, well-set posts, solid bracing and strong hinges are what keep a gate from sagging again.
Table of Contents
- Why a fence gate sags
- Step one: diagnose before you repair
- Fix the post first
- Square the gate
- Add the right brace
- Metal and bent gates
- Line up the latch
- How to keep a gate from sagging again
- When to call a fence contractor
- Our perspective
- Need a gate that stays square?
- FAQ
- Sources
Why a fence gate sags
A gate is the one moving part of your fence. It hangs from one post, swings thousands of times, and carries its own weight on a few screws. That is why it fails before the rest of the fence does.
There are two main causes. This Old House’s Tom Silva says sagging is often caused by wobbly or rotting posts, or by the gate becoming out of square. Lee Wallender at The Spruce adds that repeated opening and closing can distort a square gate into a parallelogram that no longer fits its opening. Once that happens, tightening screws alone may not be enough.
A few other things make both problems worse:
- Shallow or loose post footings. Missouri soil swells when wet and shifts through freeze and thaw, so a post that was set too shallow slowly leans toward the gate’s weight.
- A missing or backwards brace. A gate without proper diagonal support has nothing to resist racking.
- Weak hinges. Hinge screws sit in wood fibers at the post face. Hinge makers point out that those fibers can split and loosen over time, and many sag problems come from how the gate is supported rather than its weight.
- Wide or heavy gates. More span means more leverage on the hinge side.
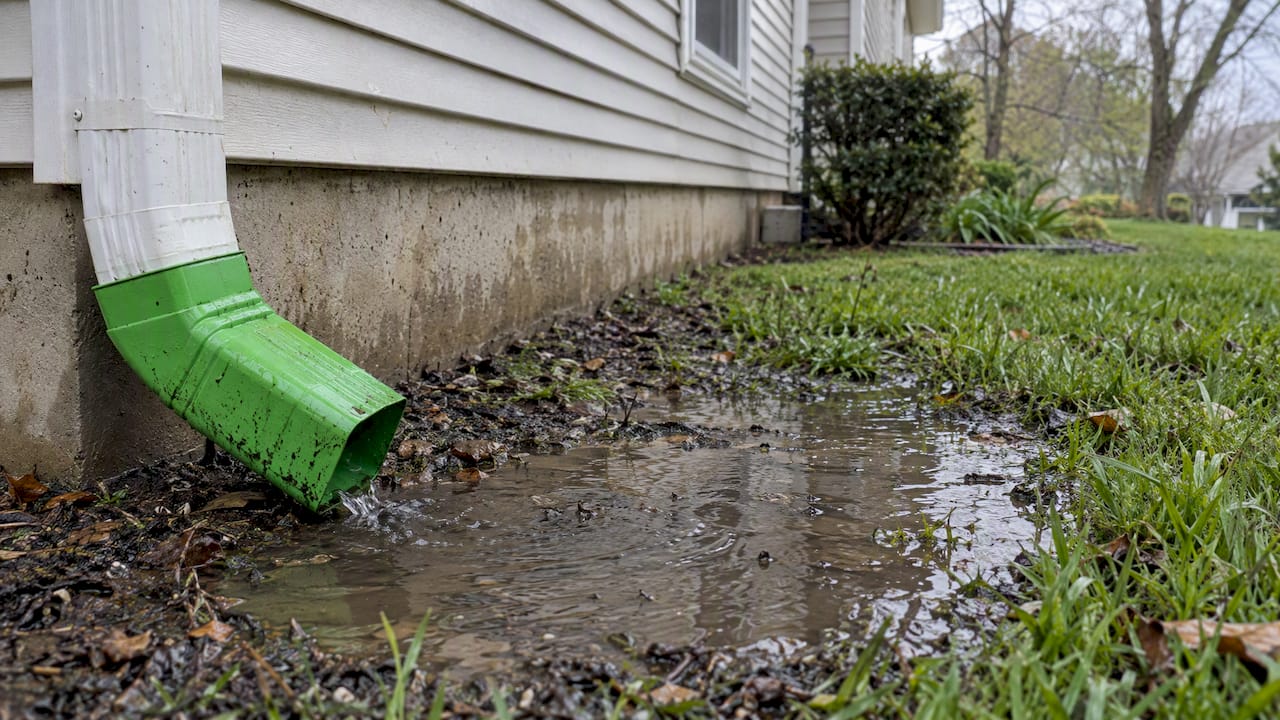
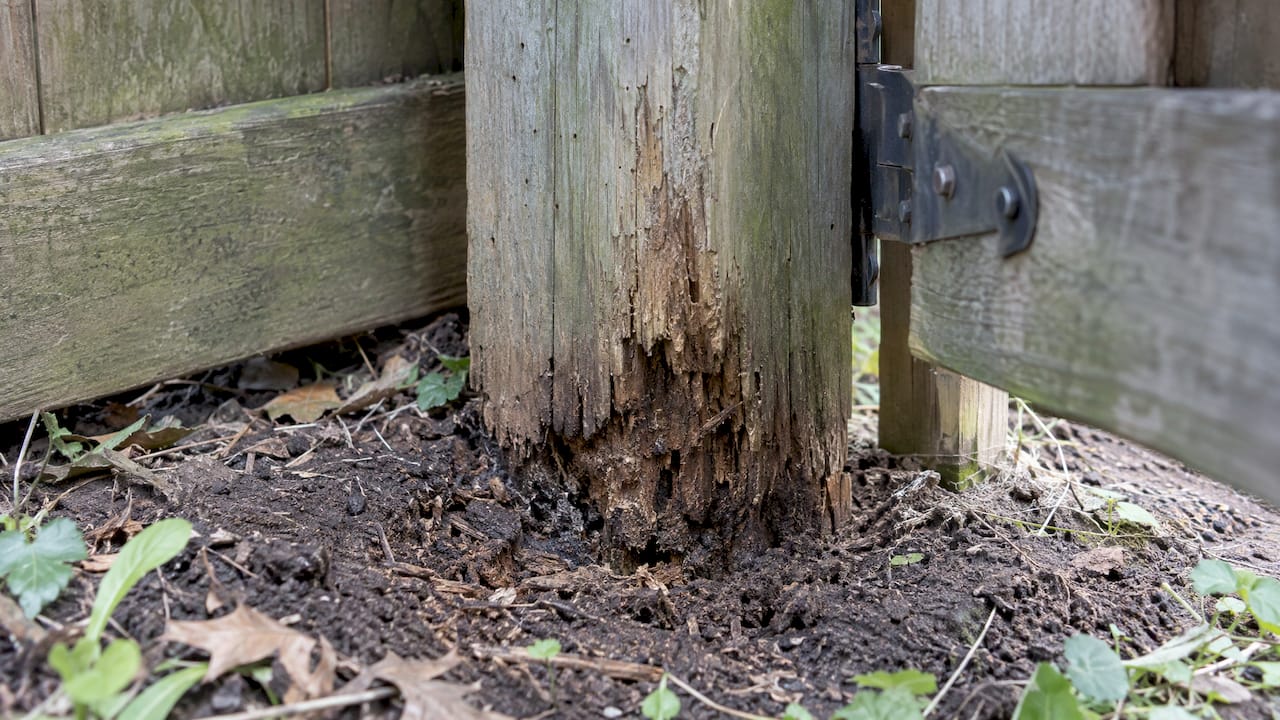
- Moisture. Wood that stays wet at the ground line rots first, and the rot starts where you can’t see it.
Step one: diagnose before you repair
Ten minutes of checking tells you which repair you need. Skip it and you may square a gate that is hanging from a failing post, which will just sag again.
Check the hinge post
Grab the hinge post and push and pull it. It should feel solid. If it rocks at ground level, the footing has loosened. Then look at the base. Tom Silva suggests inspecting the bottom of the post for rot. Poke it with a screwdriver. Soft, crumbling wood means the post is done.
Also hold a level against the post on both faces. A post that leans even slightly toward the gate side will pull the latch out of line.
Check whether the gate is square
Measure the gate’s two diagonals, corner to corner. If the numbers match, the frame is square and the post is your problem. If one is longer, the gate has racked. The longer diagonal runs from the top of the hinge side to the bottom of the latch side on a typical sagging gate, because the latch end drops.
Check the hardware
Look at the hinges and the latch. Are the screws stripped? Are the hinge leaves bent? Is the latch hanging on the post by screws that no longer bite? Loose hardware is the easy fix, and it often hides behind a bigger problem.
Use this quick table to match what you see to the repair.
| What you see | Likely cause | First repair |
|---|---|---|
| Post rocks or leans | Loose footing | Reset or replace the post |
| Soft, dark wood at the base | Rot | Replace the post |
| Diagonals differ, post solid | Gate racked out of square | Square the gate, then brace |
| Gate drops, diagonals match | Loose or stripped hinges | Re-anchor or upgrade hinges |
| Gate closes but latch misses | Small shift after repair | Move the strike plate |
Fix the post first
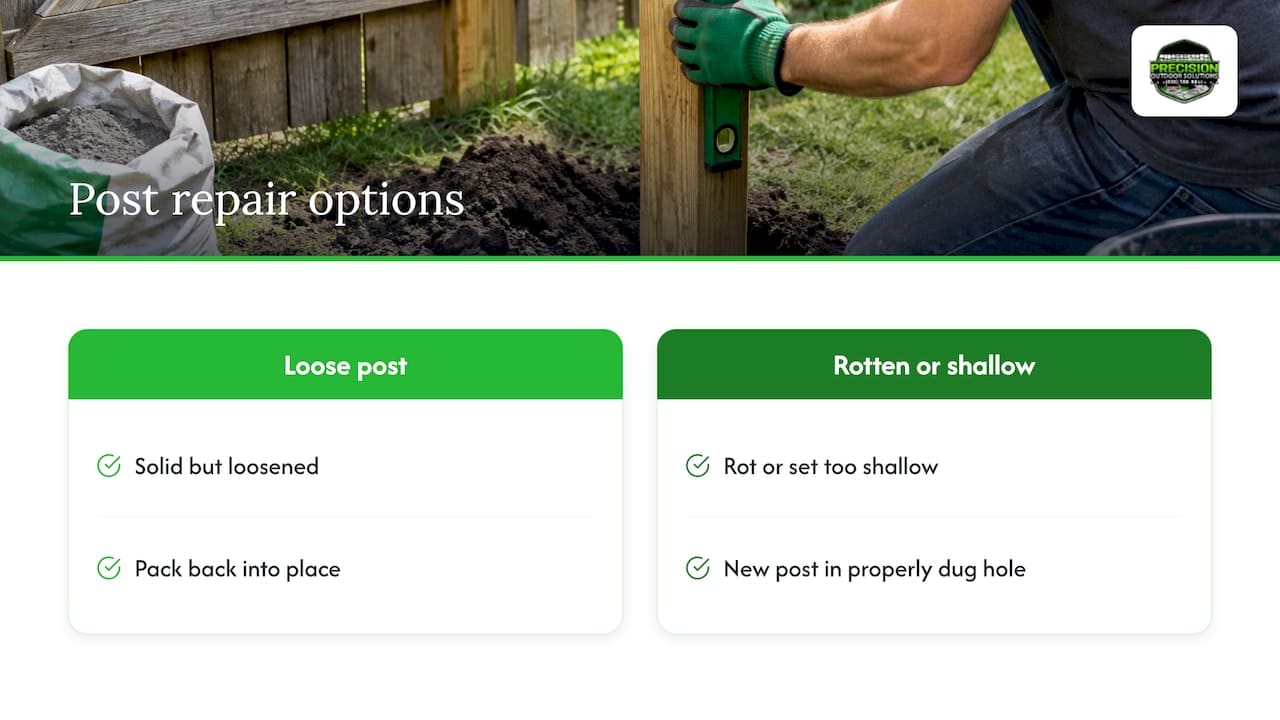
If the post is the problem, nothing else will hold. For a post that is solid but has loosened, you can sometimes pack it back in place. For a post with rot, or one that has been set too shallow, the real fix is a new post in a properly dug hole.
For reference, one hardware retailer’s guidance on winter sag recommends posts set 24 to 30 inches deep, below the frost line. Local frost depth and soil vary, so confirm what applies to your lot. If you are replacing a post, ask your contractor how deep they set it. Our article on asking about post depth when you hire a fence contractor covers what a good answer sounds like.
A gate post carries more load than a line post, so it should not be set the same way as the rest of the fence. If your gate has sagged more than once, the post has probably been the cause all along.
Square the gate
Once the post is solid, square the gate. This method comes from Tom Silva at This Old House:
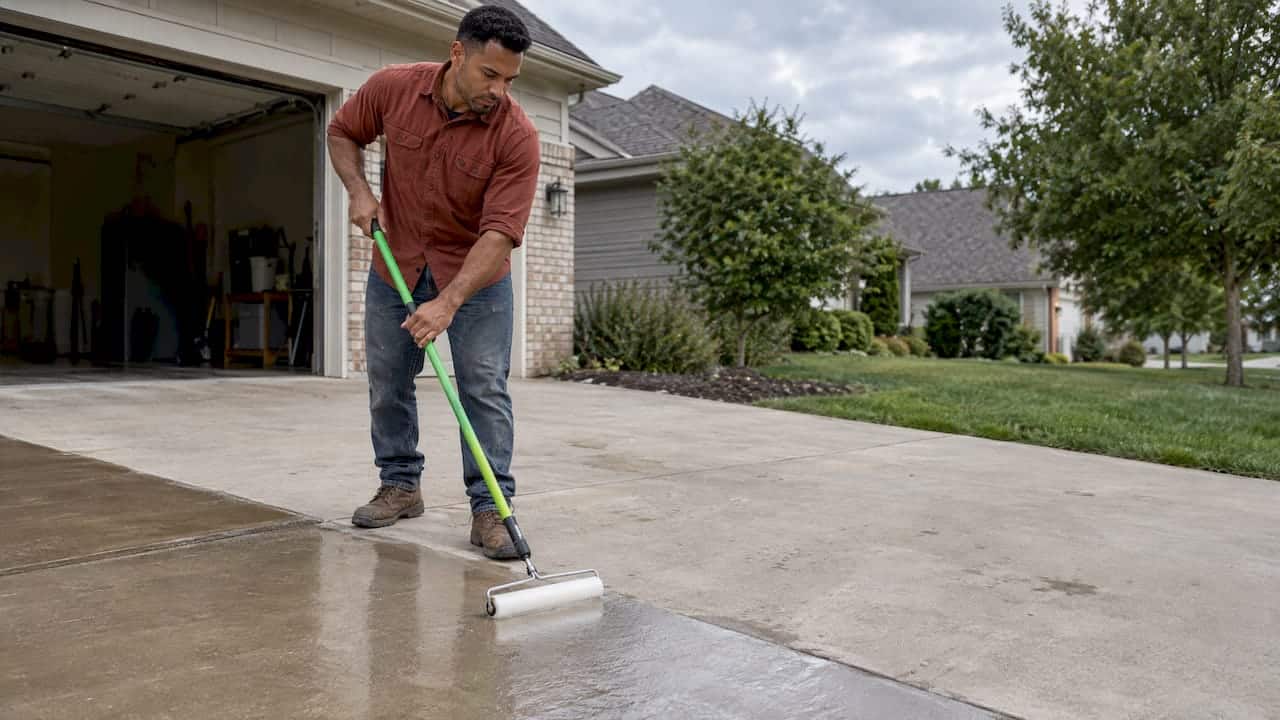
- Take the gate off its hinges and lay it flat on a level surface, like a driveway or a pair of sawhorses.
- Measure both diagonals.
- Subtract the shorter from the longer and divide by two. That is how far you need to move the corner.
- Clamp a pipe clamp or ratchet strap from the top hinge-side corner to the bottom latch-side corner.
- Tighten slowly until the diagonals match. This lifts the latch-side bottom.
- Check that the frame corners are tight before you loosen the clamp.
While the gate is clamped square, reinforce it. Silva’s approach is pressure-treated wood corner supports, with screws through the overlapping rails and stiles. Use exterior-rated fasteners. Interior screws will rust and stain within a season or two.
Add the right brace
Squaring fixes the shape today. Bracing keeps it that way. You have two options, and the direction matters.
Wood diagonal brace
Roger Cook explains that a wood brace must run from the top of the latch side to the bottom of the hinge side, so it transmits the gate’s weight down to the hinge post. Installed the other way, or left out, the gate racks and pulls out of square.
Think of it as a strut under compression. The latch end tries to drop. The brace pushes that load down and back into the hinge side, where the post can carry it.
Cable-and-turnbuckle (anti-sag) kit
A kit works the opposite way: it pulls instead of pushes. So the cable runs the other direction from a wood brace, from the top of the hinge side down to the bottom of the latch side. Roger Cook notes that a threaded rod or wire with a turnbuckle opposite a wood brace is especially useful for gates that have already started to sag.
Do these kits work? Wallender says a kit can force a parallelogram-shaped gate back into square. A typical kit has two corner braces, four cable clamps, a turnbuckle, stranded steel cable and fasteners. It is rated for gates up to 6 feet high and 4 feet wide. Check the rating on the package, because a wide or heavy gate may need a stronger solution.
Install steps, in plain terms:
- Hold the gate level and propped at the latch end.
- Attach the upper corner brace at the hinge side and the lower one at the latch side.
- Open the turnbuckle fully before you start.
- Attach the turnbuckle to the upper bracket, then run the cable around the lower bracket and clamp it tight.
- Remove slack by turning the turnbuckle, a little at a time.
- Stop when the gate is level and swings freely.
For a specific example of placement, Trex’s instructions for its vinyl-wrapped steel gates place the upper ring 5-1/2 inches down from the top on the hinge side and the lower ring 2 inches up from the bottom on the latch side, each 1-3/4 inches from the edge. That is for their product. Follow the manual that comes with yours.
One bonus of a turnbuckle: you can re-tension it later as the gate settles, so the fix does not have to be perfect on day one.
Metal and bent gates
Metal gates sag for the same reasons wood gates do, so the same order applies: post first, then hinges, then frame.
- Post. Check both posts with a level. A slight lean on either one is enough to throw the gate off.
- Hinges. Tighten the hinge bolts. If they are bent, worn or stripped, replace them.
- Square. A bent aluminum or steel frame is harder to correct with a clamp. If the bend is small, a brace or tensioned cable can pull it back. If the frame is visibly kinked, it often needs a welder or a new gate.
- Cable kit. For metal frames, a cable and turnbuckle kit or a solid diagonal steel brace are the usual options.
- Latch. After straightening, expect the latch to sit a bit off. Loosen it, line it up, and retighten.
If your metal gate is on a vinyl or steel fence system, look for the maker’s anti-sag option, since the attachment points are designed for that frame.
Line up the latch
After any repair, rehang the gate and test it. If it won’t close properly, Tom Silva says to check and adjust the strike plate. Move the strike plate rather than forcing the gate. Mark the new position, drill fresh pilot holes, and fill the old ones so the screws don’t wander.
Leave an even gap around the gate. If the gap is wider on one side, the frame is still out of square or the hinges need shimming.
How to keep a gate from sagging again
Prevention is mostly about construction details. If you are building or replacing a gate, these are worth asking about up front:
- Deep, solid gate posts. This is the single biggest factor. A footing that stays put keeps everything else aligned.
- A properly braced frame. Diagonal bracing or a tension cable, installed in the right direction.
- Heavy-duty hinges and exterior-grade fasteners. Hinges that spread the load into the post, rather than loading wood fibers at the surface, resist sag longer.
- A narrower gate where possible. Two smaller leaves are easier on a post than one wide one.
- Drainage near the post. Water standing around a post base speeds up rot and softens the soil. If your fence line collects water, see how we approach yard drainage solutions.
- Slope planning. A gate on a grade needs different design than one on flat ground. Our guide to choosing a fence for a slope walks through it.
A yearly check helps too. Each spring, wiggle the post, look for gaps at the latch, and re-tension the cable if you have one. Catching a quarter-inch drop is much easier than fixing two inches.
When to call a fence contractor
Some repairs are a Saturday project. Others are better handled by a crew. Call a professional when:
- The post is rotted or leaning, and needs digging out and resetting.
- The gate has sagged more than once, which usually means the footing, not the gate, is the issue.
- The gate is wide, heavy, or made of solid wood or steel.
- The gate sits on a slope or beside a retaining wall. If a wall is moving, read our guide on repairing a failing retaining wall.
- You would like the whole fence line checked, not just the gate.
Our perspective
When we look at a sagging gate, we almost always start at the ground, not at the gate. A gate is only as steady as the post it hangs from, and the post is only as steady as its footing and the soil around it.
That is why we focus on durability from the start: posts set properly for the site, bracing that follows the load path, and attention to how water moves around the fence line. A brace or kit can help a gate that has begun to drop. Our aim on new work is a gate that does not need one.
We also talk through the plan with you before work begins, with clear timelines and updates along the way, so you know what is being built and why.
Precision Outdoor Solutions
Need a gate that stays square?
Precision Outdoor Solutions builds and repairs fences for homeowners in Wentzville, St. Charles County and nearby communities. Our fence installation work is built around durability: solid posts, clear communication and a clean job site. With more than 25 years of experience, we can look at your gate, tell you whether it needs a repair or a reset, and lay out the plan.

If you are also thinking about the rest of the yard, see our full list of services or contact us through Precision Outdoor Solutions.
FAQ
Can I fix a sagging gate without replacing it?
Often yes. If the post is solid, you can square the gate, reinforce the corners and add a diagonal brace or an anti-sag kit. If the post is rotted or leaning, the gate will keep sagging until the post is reset or replaced.
Do anti-sag gate kits work?
They can. A cable and turnbuckle pull a racked gate back toward square, and you can tighten them later as the gate settles. They are sized for lighter gates, so check the rating on the package against your gate’s height and width.
Which way does a gate brace go?
A wood brace runs from the top of the latch side to the bottom of the hinge side. A cable or rod with a turnbuckle runs the other way, from the top of the hinge side to the bottom of the latch side. Getting the direction wrong lets the gate rack further.
How do I make a fence gate more sturdy?
Start with deep, solid posts. Then add a properly oriented brace or tension cable, corner supports, heavy-duty hinges and exterior-rated screws. Keeping water away from the post base also slows rot.
Why does my gate sag again after I repair it?
Usually the repair addressed the gate while the post kept moving. If you have squared and braced the gate and it still drops, check the footing again. A gate that keeps sagging is a sign to have a contractor look at the post.
Sources
- How To Repair a Sagging Fence Gate in a Few Simple Steps, This Old House
- How To Repair a Fence Gate, This Old House
- How to Fix a Sagging Gate, The Spruce
- Anti-Sag Cable Instructions, Trex Fencing
- G-Force Hinge Installation Guide
Recommended
- Pick The Right Fence For Your Slope: Rack Up To 12–15° For Homeowners
- Fence On A Slope: Homeowners Match Panels To 12–15° Grades
- Staining A Cedar Fence: When, How And How Often
- Avoid Permit Delays: Privacy Fence Height Checklist For Homeowners
This article was prepared with AI assistance for general information. For recommendations specific to your property, contact Precision Outdoor Solutions. Call or text us at (636) 358-8644.