The most common stamped concrete problems are cracking, blotchy or faded color, sealer haze, and surface spalling. If the damage showed up within weeks of a new pour, stop sealing or adding traffic to the area, take photos, and check the control joints first. Cosmetic issues you can often manage yourself. Anything tied to settling, wide cracks, or a sunken slab calls for a contractor visit before you spend a dime on patching.
TL;DR:
- Cracks caused by ground settlement are wider than typical shrinkage cracks and often run diagonally or pool at one edge of the slab.
- Blotchy color patches usually result from uneven release agents or inconsistent batching during the pour.
- Surface failures like spalling or scaling often stem from crusting during poor stamping conditions or moisture trapped beneath the surface.
- Proper site preparation, control joint placement, and curing practices are essential to prevent future failures and extend slab lifespan.
- Regular maintenance, including resealing every two to four years and avoiding harsh deicers, helps preserve the concrete’s appearance and structural integrity.
Table of Contents
- Common Stamped Concrete Problems and How to Spot Them
- What’s Actually Causing It: Diagnosis Before Repair
- Repair Options and What to Actually Expect
- Preventing the Next Problem: What to Require and Maintain
- A Contractor’s Field Perspective on Stamped Concrete Failures
- Getting a Failing Slab Fixed the Right Way
- Where to Learn More
- Sources
- FAQ
Common Stamped Concrete Problems and How to Spot Them
Stamped concrete issues tend to fall into four groups, and each one leaves a distinct visual fingerprint. Learning to read those signs is the fastest way to figure out whether you’re looking at something cosmetic or something that needs real repair.
Cracking is the complaint homeowners bring up most. Hairline shrinkage cracks look like thin spider webs and usually appear within the first year as the concrete cures. Control joint reflection cracks follow the pattern’s grout lines almost exactly, which actually means the joint did its job. Structural settlement cracks are wider, often a quarter inch or more, and they run diagonally or pool at one edge of the slab, a sign the ground underneath moved.
Color problems show up differently depending on the cause. Blotchy patches usually trace back to uneven release agent during stamping. A visibly different shade in one section often means a new batch of color hardener was mixed partway through the pour. Fading and loss of the antiquing accent color happen gradually from UV exposure and foot traffic wearing down the topcoat.
Sealer trouble is its own category and is easy to misdiagnose as a concrete defect. Watch for:
- White haze or a chalky film across the surface
- Sealer peeling in sheets or flakes
- A sticky, tacky finish that never fully cures
- Slick, glass-like spots where sealer pooled too thick
Surface failure includes spalling (flaking or pitting), scaling (a thin layer crumbling away), and stone popouts where aggregate pushes through the finish. These often trace back to crusting during a poor stamping window, which leaves a shallow, weak top layer vulnerable to freeze-thaw damage. Add to that list slip hazards on wet, high-gloss sealer and shallow or uneven stamp impressions where the pattern barely registers.
What’s Actually Causing It: Diagnosis Before Repair
Every symptom above traces back to a handful of root causes, and figuring out which one applies determines whether you’re dealing with a weekend fix or a slab replacement. Poor base compaction and drainage are behind a large share of structural cracking, since a soft or uneven subgrade lets the slab settle unevenly over time. Missing or poorly timed control joints let shrinkage stress travel wherever it wants instead of breaking cleanly at a planned line. A high water-to-cement ratio weakens the top layer and makes it more prone to scaling. Stamping outside the narrow window, either too early or too late, produces the crusting effect mentioned above.
Run through these checks before you call anyone:
- Note the timing. Cracks or discoloration that appeared within days of the pour point to installation problems. Issues that show up after a year or more often mean ground movement or sealer breakdown.
- Do a water test. Pour a cup of water on a hazy or discolored spot. If it darkens and the haze temporarily disappears, moisture is trapped under the sealer rather than in the concrete itself.
- Inspect the joints and perimeter. Random cracks that ignore the control joints suggest the joints were cut too shallow, spaced too far apart, or skipped entirely.
- Tap test suspect areas. A hollow or dull sound where a solid slab should ring firm indicates delamination between layers.
- Check for uneven leveling. Set a level or a straight board across a suspect section. A dip of more than half an inch usually means settlement, not surface wear.
Climate plays a bigger role than most homeowners expect. Freeze-thaw cycles widen existing hairline cracks and accelerate scaling on slabs with weak surface density, while hot, dry curing conditions increase the risk of shrinkage cracking if the crew doesn’t adjust timing. If your slab shows more than one of these symptoms at once, or you can’t tell whether a crack is cosmetic or structural, that’s the point where a visual check stops being enough.
Pro Tip: Keep a phone photo log dated from the day you notice any crack or discoloration. Contractors and, if it comes to it, warranty claims move faster when you can show exactly how fast a problem grew.
Repair Options and What to Actually Expect
Fixing stamped concrete is rarely as simple as slapping on patching compound, and the honest truth is that some repairs will always show. Here’s what each option involves and where its limits are.
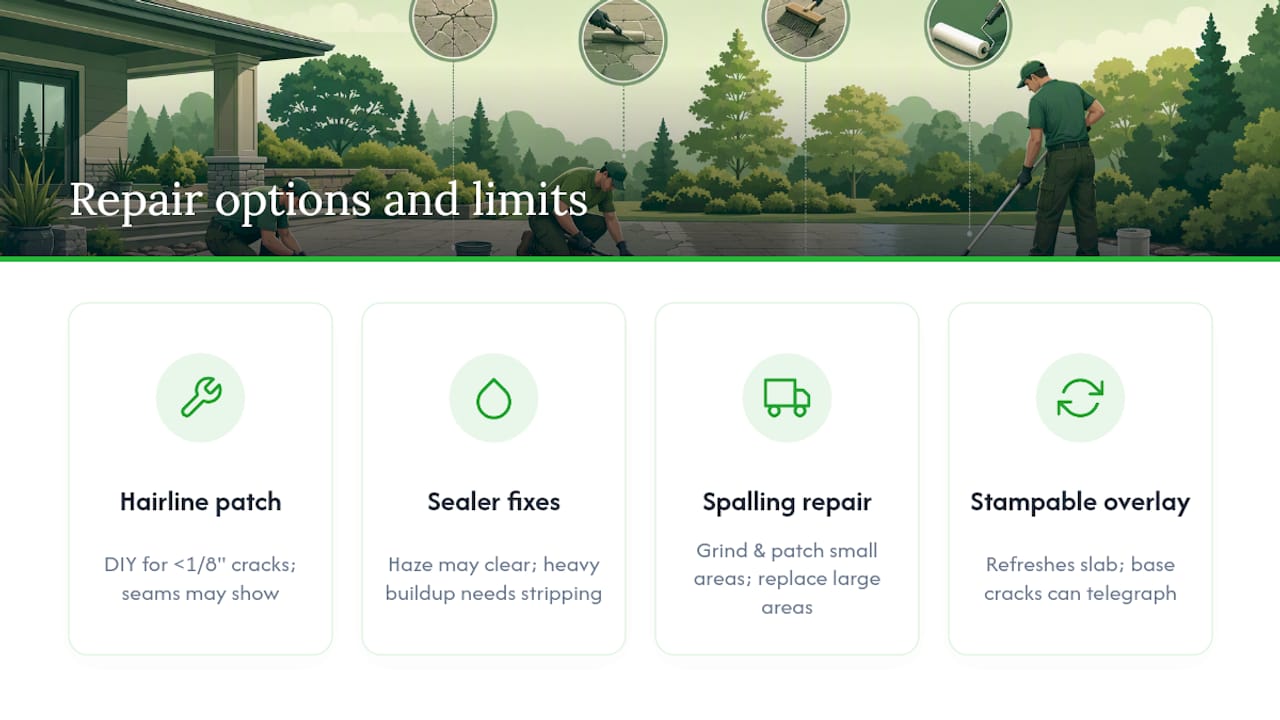
Small crack and color patching works by packing sifted color hardener mixed with a polymer binder into the crack, then texturing and coloring to blend with the surrounding pattern. It’s a reasonable DIY project for hairline cracks under an eighth of an inch, but matching the original color and texture is genuinely difficult, and slight seams often remain visible even after a careful repair.
Sealer problems split into two repair paths. Light haze from moisture sometimes clears on its own once conditions dry out. Heavy buildup, peeling, or a sealer that reacted badly with the surface usually requires stripping, often by sandblasting, before reapplying antiquing color and a fresh sealer coat.
Spalling and scaling damage gets treated one of two ways: grinding out the affected surface and patching with a bonding agent and fresh topping mix, or, when the damage covers a large area, replacing the slab section outright. Patch repairs cost less upfront but rarely disappear visually. Full replacement costs more but restores a uniform look.
Stampable overlays can refresh a worn or lightly cracked slab without a full tear-out, but they carry real risk. Overlays depend entirely on how well they bond to the existing concrete, and any crack in the base slab can telegraph straight through the new surface within a season or two.
Labor skill matters here. Sealer cleaning and small color touch-ups are within reach for a patient homeowner with the right products. Structural patching, overlays, and anything involving grinding or sandblasting call for a contractor with the equipment to do it evenly. Before budgeting a repair, it helps to understand what stamped concrete typically costs to install so you can weigh a patch against a partial or full replacement, and review the DIY-versus-pro decision points that apply to concrete just as much as pavers.
Preventing the Next Problem: What to Require and Maintain
Most stamped concrete failures trace back to decisions made before the pour ever happened, which means prevention starts with the contract, not the sealer schedule.
At the site prep stage, ask for documented base compaction and a grade that slopes water away from the slab, not toward the house. Base thickness should run heavier under driveways than patios given the added vehicle load. On construction specs, request slab thickness in writing, ask what reinforcement is planned, and confirm control joint spacing along with saw-cut timing. Joints should be cut to roughly a quarter of the slab’s depth to actually control cracking rather than just decorate the pattern.
On mix and placement, a low water-cement ratio and a dry-shake color hardener produce a denser, more durable surface than liquid color added to a wetter mix. Curing needs time and, ideally, a curing compound rather than a rushed schedule.
A simple annual maintenance routine keeps most problems from starting:
- Walk the slab each spring and note any new cracks or dulling.
- Power-wash and clean before resealing, never seal over dirt or old sealer residue.
- Test any new sealer product on a small hidden section first.
- Skip rock salt and harsh deicers; they accelerate scaling.
- Add a traction additive to high-gloss sealers near steps or pool decks.
Pro Tip: Reseal every two to four years depending on sun and traffic exposure, and never wait until the old sealer has worn through completely. A fresh coat over a partially bare surface is what usually causes the blotchy look homeowners complain about.
A Contractor’s Field Perspective on Stamped Concrete Failures
Most of the calls Precision Outdoor Solutions gets about failed stamped concrete trace back to shortcuts nobody mentioned before the pour. Get slab thickness, the joint plan, the sealer product, and the maintenance schedule in writing every time. If a contractor talks around base prep, wants to skip control joints to keep the pattern clean, or won’t commit to warranty terms, treat that as a red flag and keep asking questions.
— Precision Outdoor Solutions
Getting a Failing Slab Fixed the Right Way
A cracked or spalling patio doesn’t have to mean starting from scratch, but it does mean getting an honest look at what’s happening under the surface. A company with extensive experience diagnosing and repairing outdoor concrete projects is what separates a patch that lasts from one that fails again next winter.

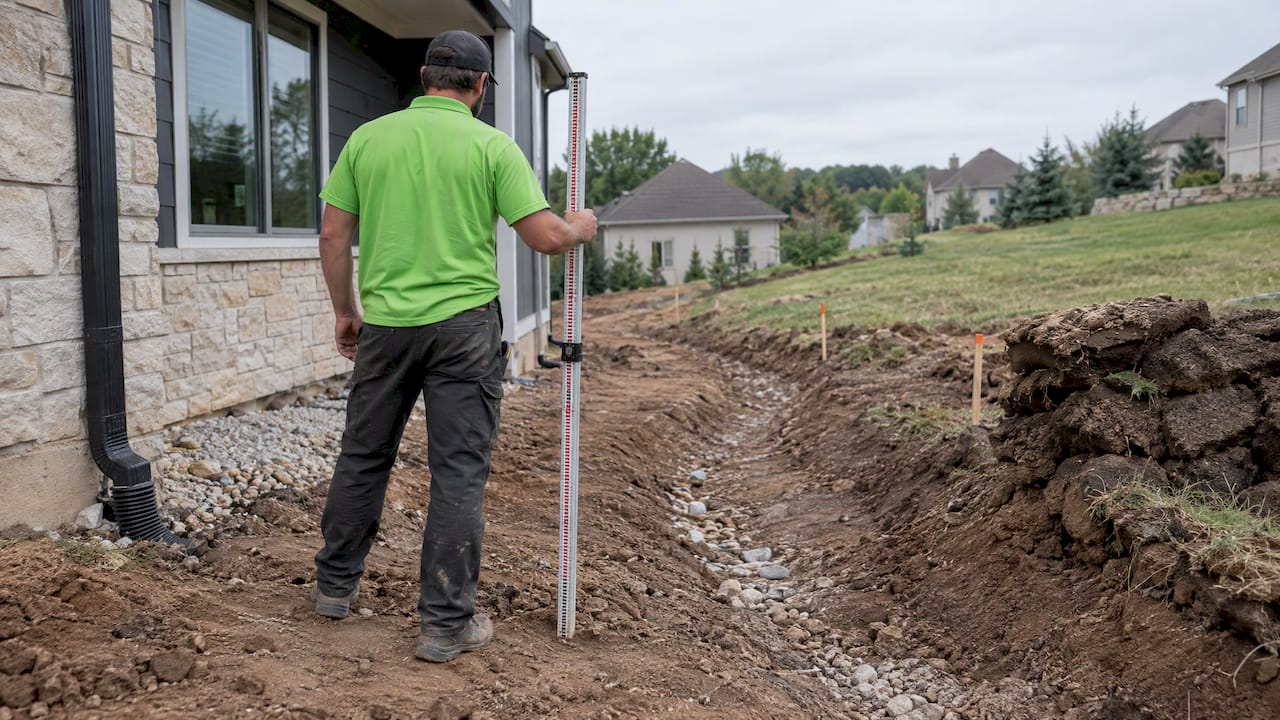
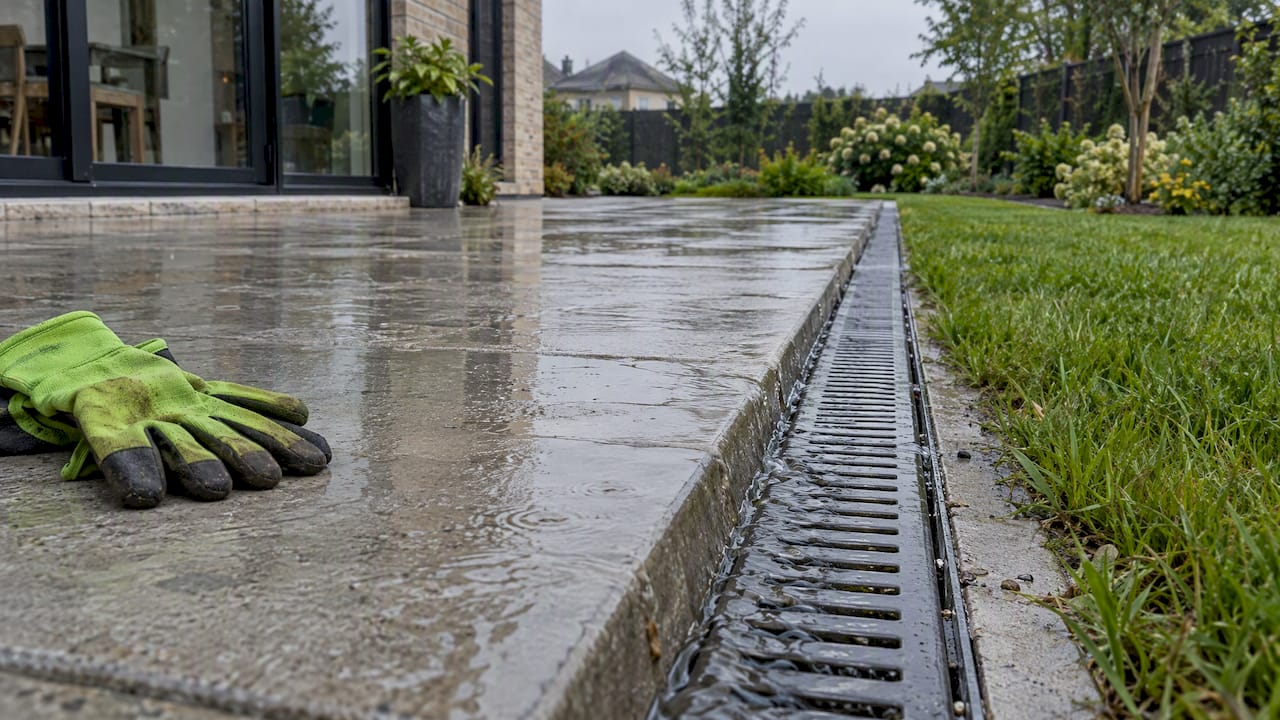
An on-site visit starts with the same diagnostic steps covered above: checking joint spacing, testing for trapped moisture, and looking for settlement around the slab’s perimeter. From there, the team lays out real options, whether that’s a targeted repair, a stampable overlay, or a full concrete services replacement when the base has failed. If drainage turns out to be the root cause of settlement, correcting the grade and water flow around the slab prevents the same crack from coming back. For homeowners considering a full patio rebuild instead of another round of patching, the hardscape and patio installation team handles everything from base prep to the final seal.
Document what you’re seeing, take a few photos, and schedule an inspection before the next freeze-thaw cycle makes the damage worse.
Where to Learn More
For deeper installation and repair guidance beyond this piece, Concrete Network’s installation do’s and don’ts and the step repair breakdown at J. Signor Exteriors cover related patch-versus-replace decisions worth reading before you commit to a fix.
Sources
- Repair Stamped Concrete Problems with These Fixes – Concrete Network
- Repairing stamped concrete – ForConstructionPros / Deco-Crete Supply
- Stamped concrete problems? How to fix & prevent them – Pacific Pavers
FAQ
What are the downsides of stamped concrete?
The main downsides are cracking risk, sealer maintenance every few years, difficulty matching color and texture during repairs, and slip risk when high-gloss sealers get wet. None of these are dealbreakers, but they do require realistic upkeep expectations from the start.
How do you fix a bad stamped concrete job?
It depends on what went wrong: sealer haze usually needs stripping and reapplication, small cracks can take color-matched patching, and severe scaling or settlement often means removing and replacing the affected section. Matching an existing repair to the original pattern and color is rarely perfect, so a visible seam is a realistic outcome even with careful work.
What is the average lifespan of stamped concrete?
A properly installed and maintained stamped concrete slab commonly lasts many years, with the sealer needing refreshing well before the concrete itself needs attention. Lifespan drops sharply when base prep, joint spacing, or curing were rushed during installation.
What happens if you don’t reseal stamped concrete?
Skipping resealing leaves the surface exposed to UV fading, moisture penetration, and faster wear on the color and texture. Over time this speeds up spalling and scaling, especially in climates with regular freeze-thaw cycles, and it turns a simple reseal job into a full strip-and-reapply project.
Recommended
- Stamped Concrete Cost: 2026 Pricing Guide For Homeowners
- 5 Patio Repair Options For Homeowners: DIY Fixes Or Call A Pro
- Avoid Short Load Fees On Concrete Orders For Homeowners
- Concrete Control Joints: Spacing, Timing, And DIY Steps
This article was prepared with AI assistance for general information. For recommendations specific to your property, contact Precision Outdoor Solutions. Call or text us at (636) 358-8644.