A linear channel drain is the right fix when a patio cannot be graded at the recommended 2% slope away from the foundation, and installing one correctly comes down to slope, outlet planning, and a dry-fit before anything gets glued or poured. If your patio holds puddles or sends water toward your doors, measure your existing slope first, then work through the checklist below or request a professional assessment.
TL;DR:
- A 2% slope or about 0.25 inch per foot away from the foundation is essential for effective drainage; flat patios require a drain or swale as a backup.
- Plastic or polymer concrete channels are suitable for foot traffic, whereas heavier precast or metal grate trench drains are needed for vehicle crossings.
- Proper slope, outlet planning, and dry-fit testing are critical to prevent standing water, cracking, or misalignment during installation.
- Regular maintenance involves clearing debris from grates and flushing the line to prevent clogs that can cause drainage failure.
- Professional help is recommended for complex projects involving driveway crossings, foundation proximity, or storm sewer connections to ensure correct sizing and permits.
Table of Contents
- What a channel drain is and when your patio needs one
- Channel vs. trench drains: picking the right material and load rating
- How to size and slope your patio drainage channel correctly
- Step-by-step patio channel drain installation checklist
- DIY or hire a pro for your patio drainage project?
- Maintenance, common problems, and real disadvantages
- How Precision Outdoor Solutions can help with patio drainage
- FAQ
- Sources
What a channel drain is and when your patio needs one
A channel drain, also called a linear drain, is a narrow trough with a grated top that catches surface water along a line rather than at a single point the way a round area drain does. That makes it a natural fit anywhere water moves across a patio as sheet flow instead of pooling in one low spot.
We see channel drains used most often in these situations:
- Pool decks and paver patios where water sheets toward a door or garage
- Retrofits on existing concrete patios that were poured without enough fall
- Spots where a patio butts against a house and cannot slope away at grade
Once the water reaches the channel, it needs somewhere to go, and expert advice on fountain and aeration system installation can help with outlet planning and landscape water management. Options include releasing it at a low point in the yard with a pop-up emitter, allowing it to soak into gravel below ground via a dry well, or routing it off-site through a storm sewer connection where local rules allow. Each option trades installation effort for long-term maintenance, so the right choice depends on your yard’s grade and soil.
Channel vs. trench drains: picking the right material and load rating
Channel drains and trench drains solve the same problem but are built for different loads. A residential channel drain is lighter, modular, and sized for foot traffic, while a trench drain uses heavier polymer concrete or precast concrete sections designed to handle vehicles.
Material choice affects both durability and looks:
- Plastic or HDPE channels are affordable and easy to cut, suited to pedestrian-only patios
- Polymer concrete channels resist cracking and handle occasional vehicle loads
- Precast concrete trench drains are the most durable option for driveways and crossings
- Metal grates (steel or aluminum) add a finished look and stand up well to foot traffic
If your patio only sees walking traffic, a plastic or polymer concrete channel with a pedestrian-rated grate is plenty. If a car or truck will ever cross the drain, plan on a trench-style system with a concrete surround, since a lighter channel will eventually crack or shift under that weight.
How to size and slope your patio drainage channel correctly
Getting the slope right matters more than any other part of this project. Building guidance calls for patio slabs within 10 feet of a foundation to slope at 2%, or 0.25 inch per foot, away from the house, and to use a drain or swale when that slope isn’t achievable. A channel drain is exactly that mitigation when a flat patio or a wall boundary makes grading impossible.
Work through the planning in this order:
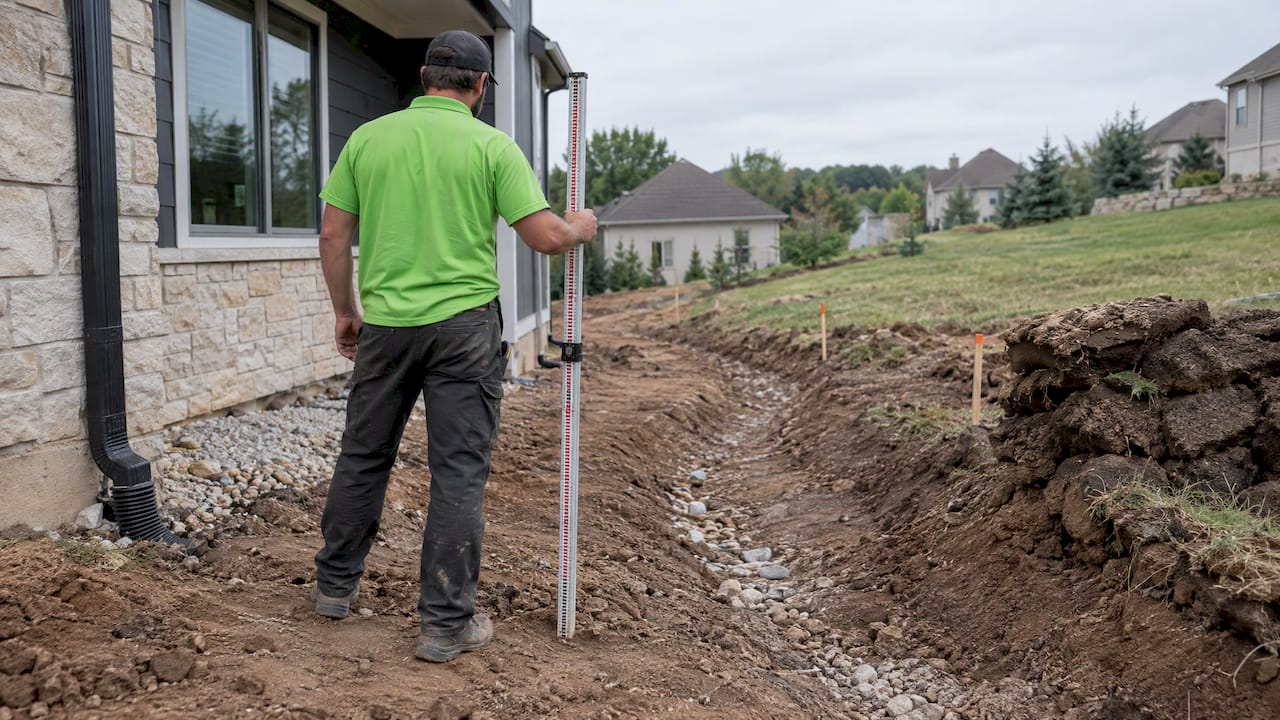
- Measure the run from the highest point of water collection to the planned outlet.
- Calculate the fall you need: most manufacturers call for a minimum 1% slope along the channel, with 2% preferred near foundations.
- Set a string line and level along the trench path to confirm you can hit that fall before you dig.
- Call 811 to have underground utilities marked before any excavation.
- Decide on daylight discharge, a dry well, or a pop-up emitter, and confirm the outlet sits lower than the channel’s low end.
If you’re tying into a municipal storm system, check with your local public works department first. Discharge permitting varies by jurisdiction, and a straight daylight or dry well outlet avoids that step entirely for most residential projects.
Step-by-step patio channel drain installation checklist
Once your slope and outlet are mapped out, installation follows a predictable sequence whether you’re retrofitting an existing slab or working into a new pour.
- Mark the trench path where water currently collects, keeping it perpendicular to the direction of sheet flow.
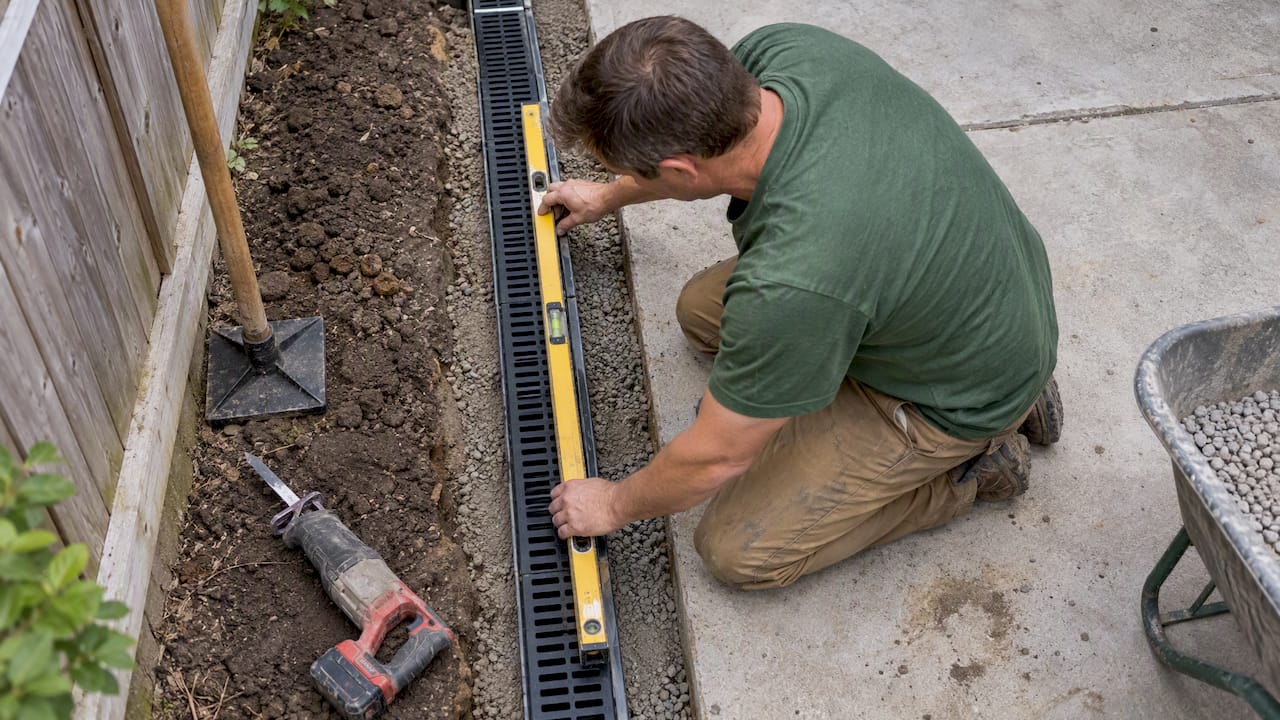
- Dry-fit the entire run, from channel to final outlet, without glue or concrete so you can confirm alignment and slope. Manufacturer guidance treats this step as the one that prevents the most costly mistakes.
- Saw-cut or excavate the trench, sizing it for the channel plus a 4-inch concrete surround on each side if vehicle loads will cross it.
- Compact the base with gravel for pedestrian-only runs, or form up for a concrete surround where traffic demands it.
- Set the channel sections to your calculated slope, using pre-sloped sections where available, and secure them with gravel or concrete.
- Connect the outlet piping, making sure the pop-up emitter or dry well inlet sits lower than the channel itself, then run water through the system to test flow before backfilling.
- Backfill, finish the concrete surround where needed, pull any protective tape from the grates, and replant any disturbed turf or beds.
Pro Tip: Dry-fit the whole run twice, once before excavation and once right before you glue or pour, since soil settles and string lines shift more than you’d expect.
A hand tamper, a 4-foot level, a reciprocating saw for plastic channels, and a concrete mixer for surrounds will cover most retrofit jobs. Stop and call a professional once the project involves a driveway crossing, work within a few feet of your foundation footing, or a storm sewer tie-in that needs a permit.
DIY or hire a pro for your patio drainage project?
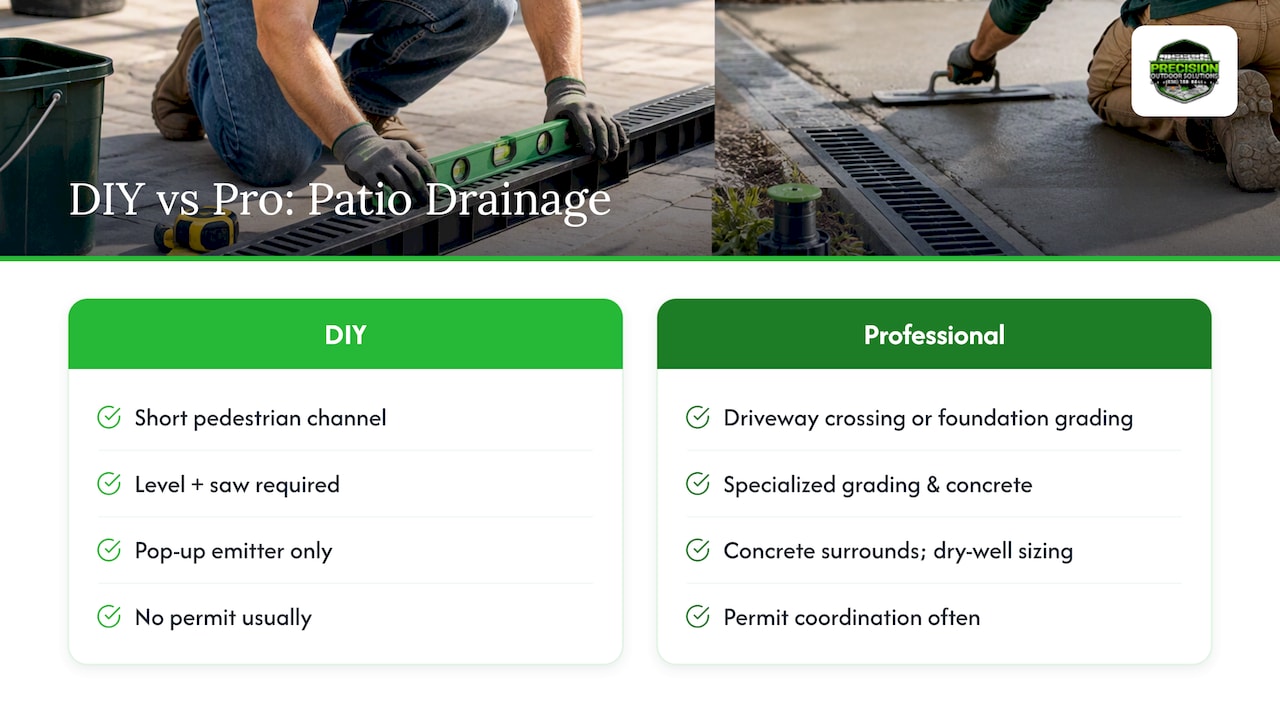
A short pedestrian channel that drains to a simple pop-up emitter is a reasonable weekend project for a homeowner comfortable with a level and a saw. Once the job involves a driveway crossing, grading next to a foundation, or a dry well sized for real volume, the margin for error shrinks fast, and that’s where our drainage solutions team steps in.
A professional scope typically covers grading corrections, concrete surrounds for vehicle loads, dry well or pop-up emitter sizing, and any permit coordination your municipality requires. We build these systems alongside our hardscape and patio installation work, so the drain and the surrounding slab are planned together rather than patched in afterward.
Maintenance, common problems, and real disadvantages
A channel drain is not a set-it-and-forget-it fixture. Plan on pulling the grates once or twice a year to clear leaves and grit, flushing the line with a hose, and checking that the outlet, whether a pop-up emitter or dry well, still drains freely.
The most common failures we see trace back to a handful of causes:
- Insufficient slope, which leaves standing water in the channel instead of carrying it to the outlet
- A clogged pop-up emitter or dry well, usually from sediment buildup over time
- Settling under the grate from a poorly compacted base
- Cracking from thermal expansion in hot climates when no expansion gap was left between grate sections
A 2% slope near the foundation, versus a flat grade, is the detail that most often determines whether a patio stays dry or develops standing water. Plastic channels tend to need attention sooner than polymer concrete or precast systems, and cracked grates or a sunken channel line are both signs it’s time for repair rather than another season of patching.
How Precision Outdoor Solutions can help with patio drainage
We handle patio drainage projects from the first site walk through final grading, whether that means a straightforward pop-up emitter system or a full concrete surround for a driveway crossing. Our yard drainage solutions work covers the cases where DIY gets risky: foundation-adjacent trenching, vehicle load ratings, and outlet sizing that actually matches your lot’s water volume.

If your patio has standing water or a slope that never quite worked, request an on-site assessment through our yard drainage solutions page and we’ll walk the grading with you before recommending a fix.
FAQ
Can I install a channel drain in a concrete patio?
Yes, retrofitting an existing concrete patio with a channel drain is common and usually involves saw-cutting a trench along the path where water collects, then setting a pre-sloped channel before patching the surrounding concrete. The key is confirming you can still achieve a workable slope to the outlet once the channel is set into the existing slab.
What are the disadvantages of channel drains?
The main drawbacks are ongoing maintenance, since grates need regular clearing of debris, and the risk of failure from poor slope, clogged outlets, or inadequate base support under the grate. In hot climates, skipping the expansion gap between grate sections can also lead to cracking over time.
What is the best drainage for a patio?
The best system depends on whether your patio can be graded at the standard 2% slope away from the foundation; if grading alone solves it, a simple swale may be enough, and if not, a channel drain tied to a pop-up emitter or dry well is typically the most reliable fix. Patios with vehicle traffic need a trench-style drain rated for that load.
What is a good narrow drainage channel for a patio?
For pedestrian-only patios, a narrow plastic or polymer concrete channel with a slim grate works well and is easier to cut and fit around curves than a wider trench system. Polymer concrete holds up longer under repeated foot traffic and weather exposure than basic plastic channels.
Sources
- Patio slabs, porch slabs, walkways, and driveways slope away from house | Building America Solution Center
- Channel drain installation: linear drain installation guide (University/technical guide)
Recommended
- Patio Drainage Solutions That Actually Stop Water Pooling
- Drainage First Saves Joists: Under Deck Patio For St. Charles County
- Retaining Wall Drainage: A Practical Homeowner’s Guide
This article was prepared with AI assistance for general information. For recommendations specific to your property, contact Precision Outdoor Solutions. Call or text us at (636) 358-8644.