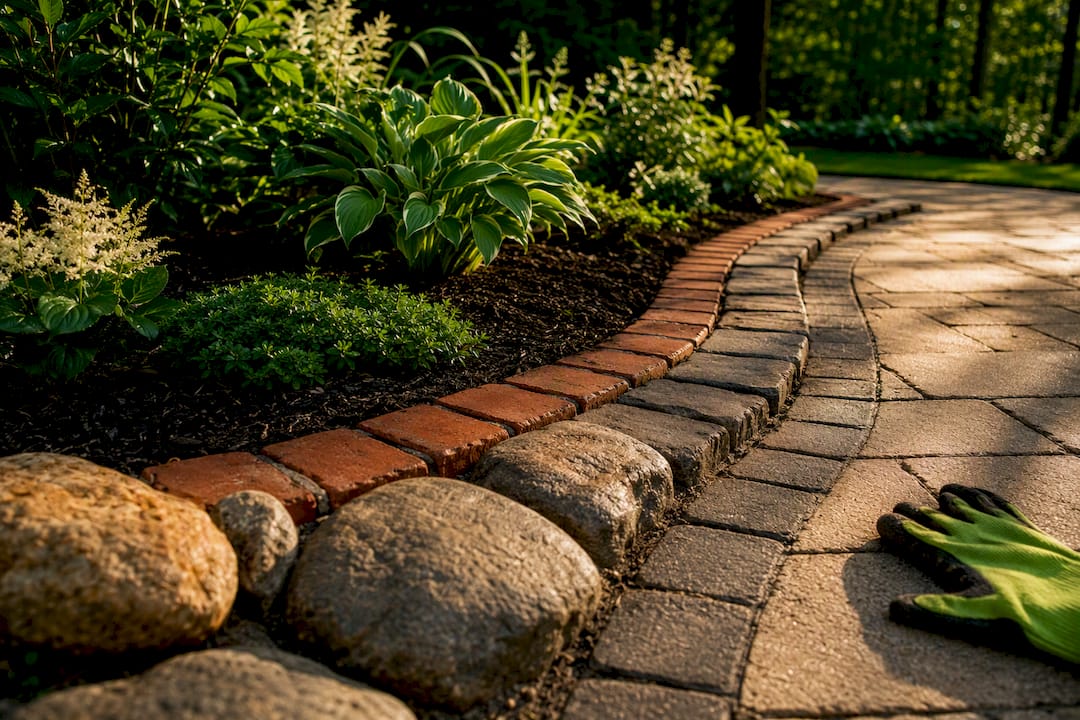
A dry creek bed is a stone-lined channel that manages runoff while adding low-maintenance landscape interest. It works best when you need to move water away from your house, slow erosion on a slope, or replace a thirsty patch of lawn with something that looks good year round. If your yard has serious slope, a tricky outlet, or heavy storm runoff, it pays to involve a landscaping professional before you dig.
TL;DR:
- Most residential dry creek beds should be about 8 to 18 inches deep with a width of at least 2 feet, following a 2:1 width-to-depth ratio for stability.
- Proper outlet sizing and protection are critical to prevent erosion during heavy storms, with splash rocks and plunge basins helping slow water at discharge points.
- Layered stone selection, including drain rock, river gravel, and larger boulders placed at bends, is essential for durability and natural appearance during storm runoff.
- Plantings should match moisture zones to stabilize banks and include native species like sedges, rushes, and drought-tolerant perennials for low maintenance.
- A professional drainage assessment and site-specific design are recommended when yard slopes are steep, runoff is heavy, or major regrading is involved to ensure long-term functionality.
Table of Contents
- 1. Twenty dry creek bed design ideas for every yard
- 2. How to choose and layer stone so it holds up in storms
- 3. Planting along the banks so it survives wet and dry cycles
- 4. Getting the size, slope and outlet right before you dig
- 5. A step-by-step checklist for building your dry creek bed
- 6. Mistakes to avoid and how to keep your creek bed working
- 7. Lighting ideas that make a dry creek bed work after dark
- 8. Connecting a dry creek bed to your irrigation system
- 9. What a dry creek bed typically costs to build
- 10. Balancing a good-looking creek bed with one that actually works
- How Precision Outdoor Solutions can help with your project
- Sources
- FAQ
1. Twenty dry creek bed design ideas for every yard
A dry creek bed can be a quiet drainage fix or the main event in your landscape design. These twenty ideas cover a range of yard sizes, climates, and budgets, so you can pick a style and adapt it to your own property.
- Natural meandering stream: Mix boulders with river rock along a winding path that follows your yard’s existing slope for the most realistic look.
- Formal pebble bed: Use uniform pebbles and crisp steel or stone edging for a clean, modern line through the yard.
- Boulder focal point: Place one or two large boulders at a bend to suggest the scouring action of real moving water.
- Rain-chain headwaters: Route a downspout into a rain chain that feeds a stone plunge area at the top of the bed.
- Disguised drainage swale: Line a functional swale for driveway or roof runoff with rock so it reads as a creek, not a ditch.
- Stepping-stone crossing: Set flat stones across the bed so foot traffic can cross without disturbing the rock layers.
- Mini front-yard stream: Use decomposed granite and small river rock to fit a dry creek into a narrow or small front bed.
- Gravel outfall beach: Widen the stone bed at the discharge point so it looks like a natural sediment deposit instead of a drainage pipe.
- Woodland fern creek: Line a shaded bed with ferns, moss, and mixed river rock for a cool, damp-looking woodland feel.
- Xeric creek bed: Pair native grasses and drought-tolerant perennials with pale gravel for a low-water look in sunny yards.
- Coastal pebble style: Choose pale, rounded, salt-tolerant stone for a beach-inspired look near patios or pool areas.
- Modern linear gravel bed: Run a straight gravel channel with a few oversized accent stones for a contemporary yard.
- Seasonal puddle management: Build an overflow notch with coarse gravel so occasional standing water after storms drains instead of pooling.
- Rock cascade on a slope: Stack flat stones in tiers on a hillside so water tumbles visibly during heavy rain, staying dry otherwise.
- Cobble path and creek combo: Pair a walking path with a parallel dry creek for a play-friendly yard that still manages runoff.
- Percolation pit head: Start the bed with a gravel-filled pit for clay soils that need help absorbing heavier runoff.
- Container headwaters feature: Use a raised planter or small rock basin as a headwater feature on a flat or small lot.
- Moon garden creek: Pair pale river rock with night-blooming, light-colored plants for a bed that glows at dusk.
- Stepped terrace creek: Break a steep slope into terraces connected by short cascades to slow water gradually.
- Low-profile lawn swale: Keep the bed shallow and grass-adjacent so it blends into a lawn while still carrying water during storms.
2. How to choose and layer stone so it holds up in storms
The right stone selection is what separates a dry creek bed that survives its first big storm from one that washes out. Layering by function, not just looks, keeps the bed stable while still reading as natural.
- Base layer: Use 7/8 inch drain rock or larger as an anchored base, since this size resists being carried off by moving water.
- Center channel: Mix smaller river rock and gravel here to mimic the way a real streambed deposits sediment over time.
- Banks and bends: Place 3 to 8 inch river rock and larger boulders where the channel curves, since that is where a real stream would show the most scale and texture.
- Color and texture: Match stone tones to your house siding or existing hardscape, and skip oversized boulders in small yards where they can overwhelm the space.
- Fabric or bare soil: Landscape fabric under the base layer helps block weeds, but embedding stones directly into native soil at the banks often looks more natural and lets plants root in more easily.
Extension guidance on dry stream beds recommends partially burying boulders at bends and along banks, since a boulder sitting fully on top of the gravel rarely looks like it belongs there.
Pro Tip: Buy stone in odd-numbered groupings and slightly varied sizes. Uniform, evenly spaced rocks are one of the fastest ways to make a dry creek bed look artificial.
3. Planting along the banks so it survives wet and dry cycles
Plants do double duty along a dry creek bed: they hold the banks in place during storms and they carry the design through the seasons when the channel is dry. The trick is matching each plant to how much moisture it will actually get.
- Wet zone (channel bottom): Sedges (Carex) and rushes (Juncus) tolerate the periodic saturation that happens right in the flow path.
- Moist zone (lower banks): Ornamental grasses and many ferns handle occasional splash and higher soil moisture without struggling.
- Dry zone (upper banks and surrounding beds): Drought-tolerant perennials and groundcovers fill in the areas that only get wet during heavy runoff.
- Species selection: Native or regionally adapted plants generally need less long-term care since they are already suited to your rainfall pattern.
- Planting technique: Tuck root balls into crevices between boulders and into soil pockets along the banks, which anchors the plant and helps stabilize the slope at the same time.
Space plants to fill in over a season or two rather than crowding them in right away. A bed with breathing room between young plants is easier to weed and looks intentional rather than overgrown.
4. Getting the size, slope and outlet right before you dig
This is the part of a dry creek bed project that determines whether it actually works. Get the sizing and outlet wrong, and even the prettiest stone arrangement will pool water or erode within a season.
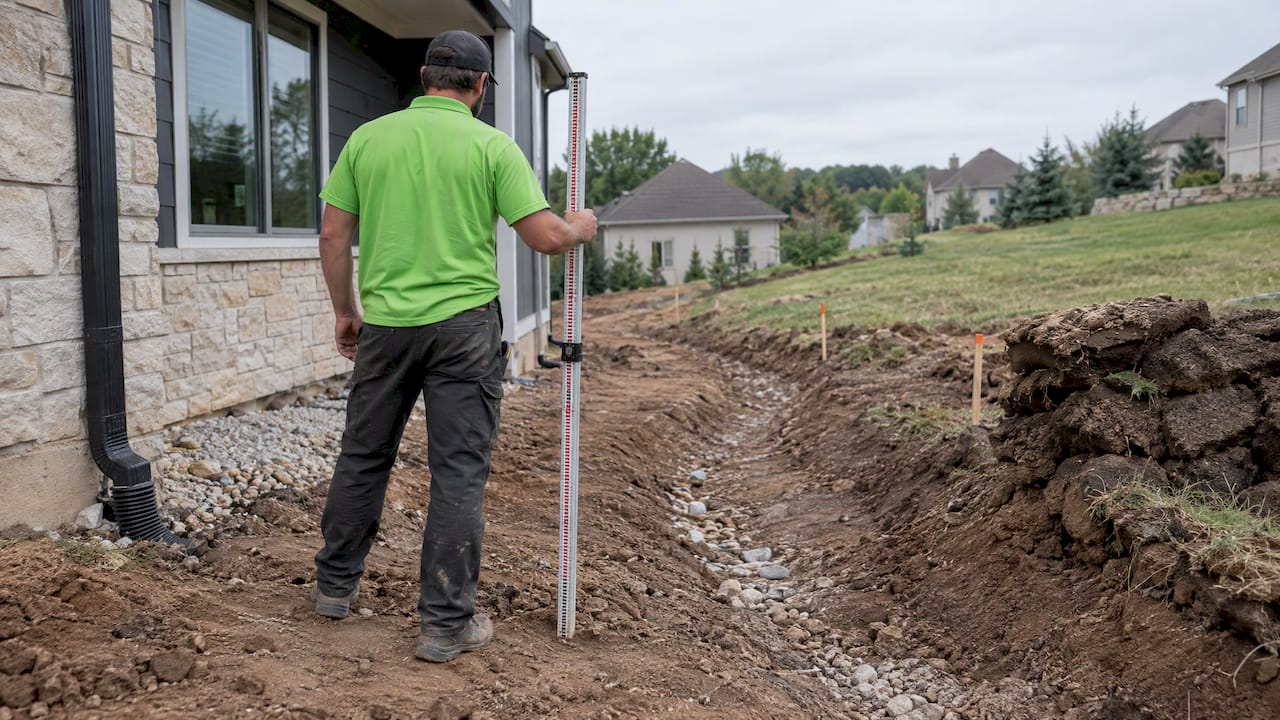
- Width-to-depth ratio: Aim for roughly a 2:1 ratio, so a 4 foot wide channel runs about 2 feet deep at its center, following the wide, shallow cross-section that extension guidance on dry stream beds recommends for a natural look and stable flow.
- Typical residential range: Most home dry creek beds run 2 feet or more in width and about 8 to 18 inches deep, depending on how much runoff the site needs to carry.
- Minimum slope: Professional build guidance suggests aiming for a gentle slope where possible where the site allows it, since flatter runs are more prone to standing water.
- Flat lots: When the ground genuinely will not slope enough, a sump basin with a pump, or a pipe routed to a lower point, solves the problem better than fighting a channel that has nowhere to drain.
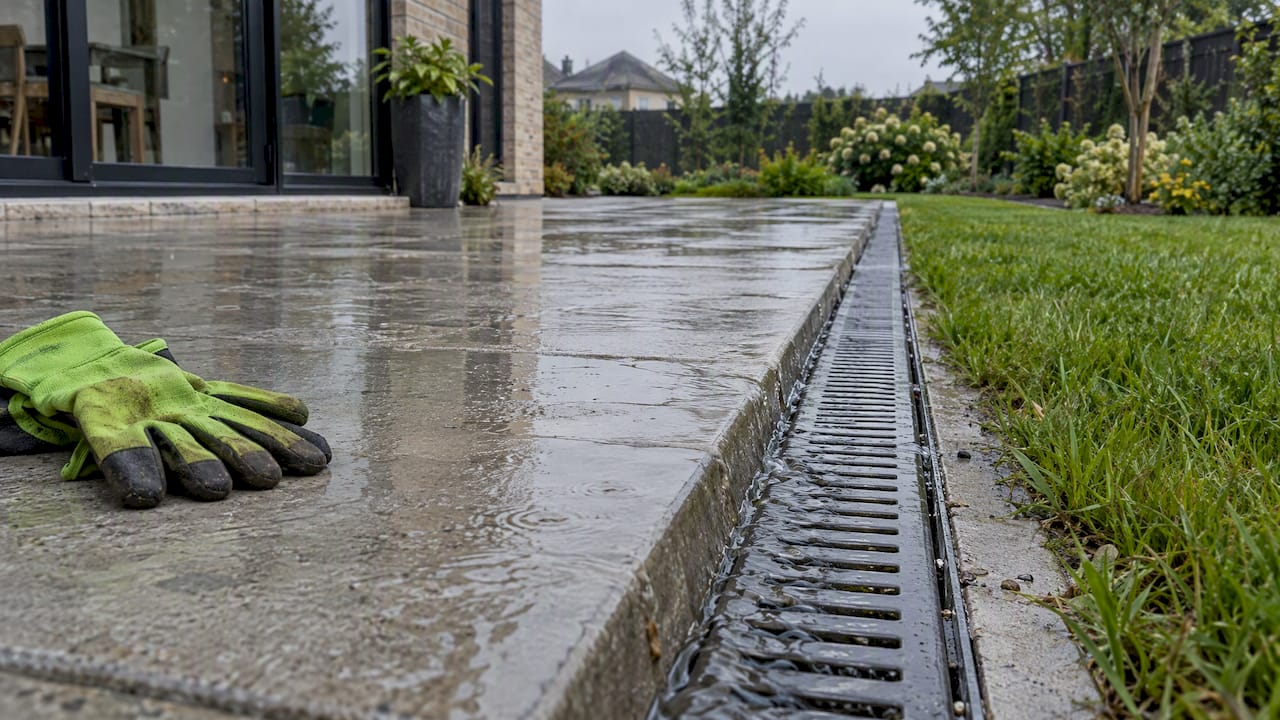
- Outlet and energy dissipation: Always define where the water exits. Splash rocks or a plunge basin slow the water down at the discharge point, and a subsurface percolation pit filled with drain rock helps protect the outfall in clay soils that drain slowly.
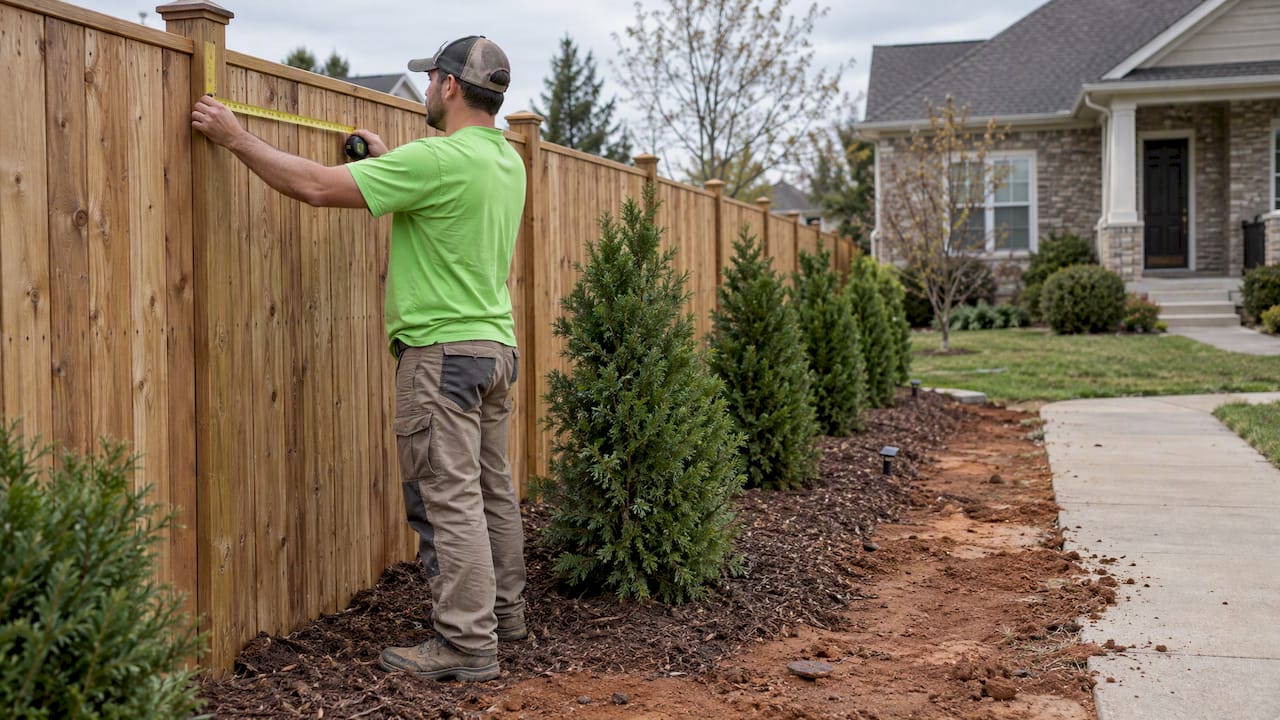
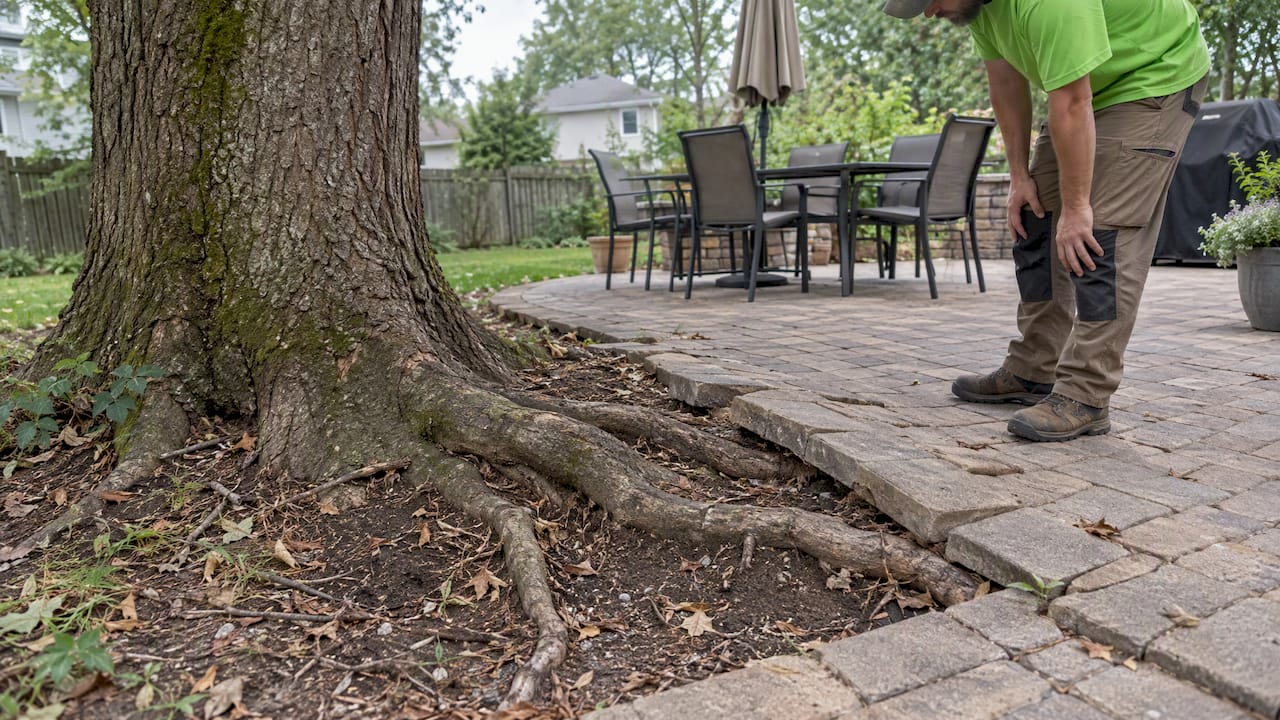
- Setbacks: Keep the channel away from foundations, septic fields, and major tree roots, and always call 811 before digging so you know what is running underground.
Rain garden and swale manuals show ponding depths typically run from 6 to 24 inches, depending on soil infiltration rate, which is a useful reference point when you are deciding how deep to dig a channel that needs to hold water briefly during a storm.
5. A step-by-step checklist for building your dry creek bed
Once the design and sizing are settled, the build itself follows a fairly predictable order. Working through it in sequence keeps you from having to redo steps later.
- Observe and mark: Watch where water actually flows during a rain event, then mark your planned path, headwaters, and outlet with flags or spray paint.
- Call before you dig: Contact 811 to have utility lines marked before any excavation begins.
- Excavate the channel: Dig to your planned width and depth, cutting small shelves along the banks where boulders will sit.
- Shape the berms: Use the excavated soil to build low berms along the banks, which helps direct flow and adds shape to the bed.
- Add geotextile fabric: Lay fabric where you want weed suppression, leaving it out where you plan to embed plants directly into soil.
- Place the base layer: Add and compact 7/8 inch drain rock or larger as the structural base of the channel.
- Install pipe if needed: Add perforated pipe only if you are routing water underground for part of the run.
- Set the boulders: Partially bury boulders at bends and along banks so they look settled rather than dropped in place.
- Layer the channel: Fill the center with mixed river rock, then finish the outfall area with fine gravel to mimic natural sediment.
- Plant and test: Cut an X in any fabric to tuck in plants, water everything to help it establish, then run a hose at the headwaters to confirm the flow reaches the outlet without pooling.
Pro Tip: Test the flow before you consider the project finished. A garden hose run at full pressure for ten minutes will show you exactly where water wants to pool, while the ground is still easy to adjust.
6. Mistakes to avoid and how to keep your creek bed working
Most dry creek bed failures trace back to the same handful of mistakes, and most of them show up within the first year or two.
- Undefined outlet: Skipping a clear discharge point is one of the most common oversights, and it is usually what causes erosion problems downstream.
- Undersized channel: A bed that is too narrow or shallow for the runoff volume overflows its banks during heavy storms.
- Ignoring slope: Building on ground that is too flat, without a sump or pump backup, leads to standing water and mosquito problems.
- Uniform stone sizing: Rock that is all the same size shifts and slides more easily than a natural mix of large and small stone.
A simple seasonal routine keeps most beds working well: clear leaves and debris after storms, check for sediment buildup at the outfall, reset any stones that have shifted after a big rain event, and trim back plants that have started to block the flow path. If your project involves major regrading, a risk of water reaching your basement, high runoff volumes, or utility and permit questions, it is worth having a professional drainage assessment rather than guessing.
7. Lighting ideas that make a dry creek bed work after dark
Lighting a dry creek bed does two things at once: it shows off the stonework in the evening and it keeps the channel from becoming a tripping hazard once the sun goes down. Low-voltage path lights spaced along the banks outline the curve of the bed without flooding it in brightness. Small in-ground well lights tucked near boulders throw a soft uplight across the stone texture, which tends to look more natural than a light fixture sitting in the open.
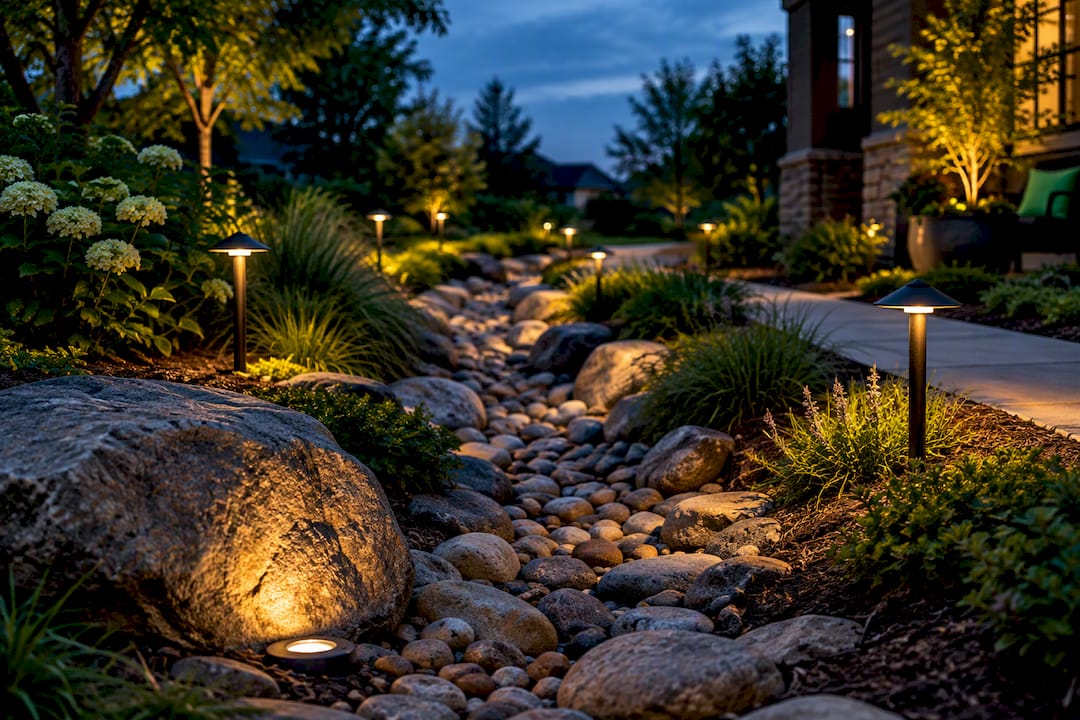
For a subtler effect, string lights woven through overhanging plants at the banks can read almost like moonlight on water once it’s dark. Solar-powered options work well for a dry creek bed since the run is often away from existing power sources, though they tend to be dimmer than wired low-voltage systems. Wherever the bed crosses a path, walkway, or patio edge, prioritize safety lighting first: a stepping-stone crossing or a shallow section near foot traffic should always have enough light to see the stone edges clearly.
Keep fixtures low and pointed downward or outward rather than up into sightlines, which preserves the natural look and avoids glare for anyone sitting on a nearby patio in the evening.
8. Connecting a dry creek bed to your irrigation system
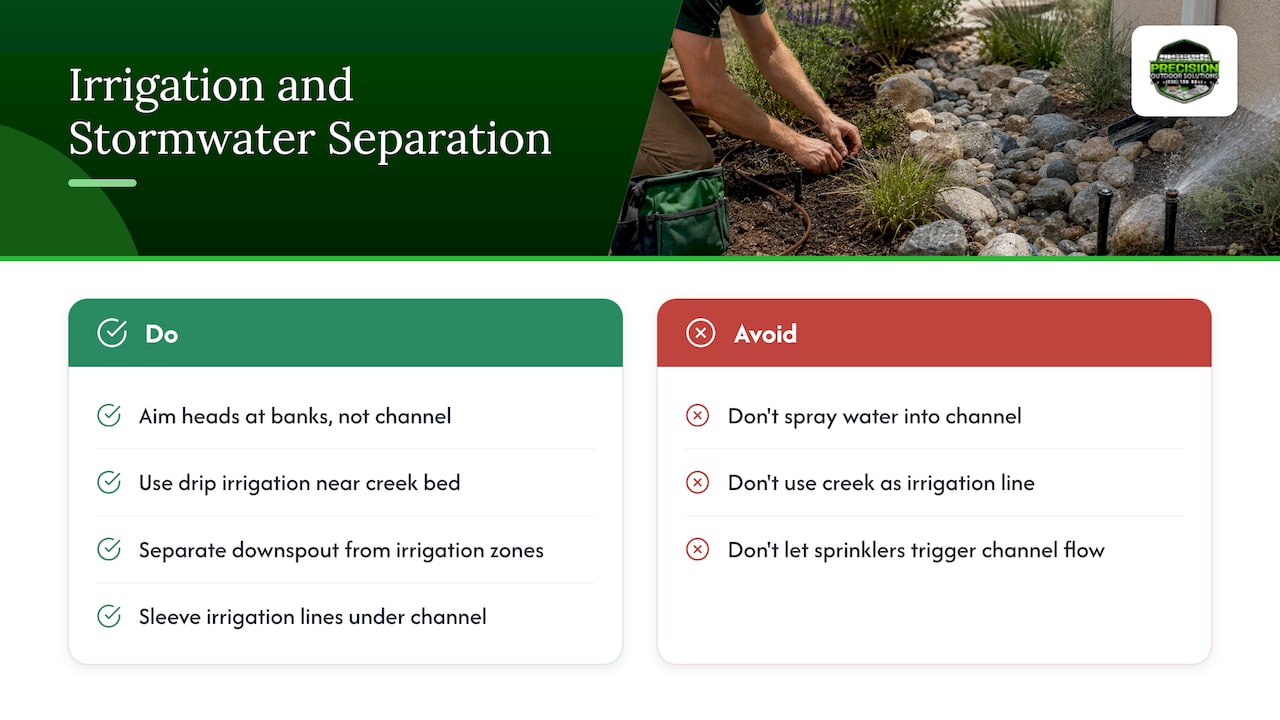
A dry creek bed is meant to carry stormwater, not double as an irrigation line, but the two systems often need to coexist in the same yard. Keep irrigation heads and drip lines positioned so they water the plants along the banks without spraying directly into the stone channel, since standing water in the rock bed defeats the purpose of the drainage feature. Drip irrigation tends to work better than spray heads near a dry creek bed because it delivers water right to the root zone of bank plantings without wetting the gravel itself.
If your bed is fed partly by a downspout, keep that connection separate from your irrigation zones so a sprinkler cycle doesn’t accidentally trigger unnecessary flow through the channel. For beds that pass near lawn areas, a buried sleeve under the stone allows irrigation lines to cross the channel without interrupting the water’s path during a storm. Planning irrigation and drainage together at the design stage, rather than adding one after the other is already built, generally saves rework later.
9. What a dry creek bed typically costs to build
Cost depends heavily on the length of the run, the depth and width you need, and how much of the work is DIY versus professionally installed. Materials are usually the biggest line item: drain rock for the base, river rock for the channel, boulders for the banks, and landscape fabric all add up based on the total volume of stone the project requires. A longer, deeper channel with large feature boulders costs more per foot than a short, shallow decorative bed.
Labor adds another layer of cost, particularly for excavation, grading to the correct slope, and setting large boulders, which often require equipment rather than hand tools. Homeowners tackling a small, shallow bed themselves can often keep costs down to materials alone, while a larger project that involves regrading a yard, tying into an existing drainage system, or managing heavy clay soil usually benefits from professional grading and installation. Getting a design consultation before buying materials helps avoid buying the wrong stone volume or discovering a slope problem after the gravel is already delivered.
10. Balancing a good-looking creek bed with one that actually works
The best-looking dry creek beds and the best-performing ones are not always the same project, and that tension shows up on almost every job. A wide bed with big feature boulders photographs well, but if the outlet isn’t sized and protected, it fails the first time a storm sends real volume through it. We tend to prioritize the outlet and the plant establishment period over the initial visual impact, because those two things determine whether the bed is still working in three years instead of needing a rebuild.
— Precision Outdoor Solutions
How Precision Outdoor Solutions can help with your project
If your yard has drainage problems that a Pinterest board won’t solve, that’s exactly where our Yard Drainage Solutions in Wentzville, MO come in.

A site visit lets us look at your slope, soil, and existing runoff pattern before recommending sizing, stone, and an outlet plan built for your property rather than a generic layout. From there, our landscape design process covers material selection and a clear installation timeline so you know what to expect. If you’re in Wentzville or St. Charles County and ready to talk through your yard, reach out through our contact page to schedule a consultation.
Sources
- Dry stream beds (Clark County Master Gardener / UAEX)
- How to build a stylish dry creek bed (Fine Gardening)
- Rain Gardens Across Maryland (University of Maryland Extension)
FAQ
How deep should a dry creek bed be?
Most residential dry creek beds run about 8 to 18 inches deep, paired with a width of 2 feet or more to follow a roughly 2:1 width-to-depth ratio. The exact depth depends on how much runoff your site needs to carry during a heavy storm.
What is the point of a dry creek bed?
A dry creek bed manages stormwater by capturing roof and slope runoff and slowing it down to reduce erosion, while also giving you a low-maintenance landscape feature in place of thirsty lawn. It stays dry most of the time and only carries visible flow during and right after rain.
What are the best rocks to use for a dry creek bed?
A layered mix works best: 7/8 inch drain rock or larger as a stable base, smaller river rock and gravel in the center channel, and larger river rock or boulders along the banks and bends for scale. Mixing sizes and shapes, rather than using uniform stone, keeps the bed from looking artificial and helps it resist shifting during heavy flow.
What should I plant along a dry creek bed?
Sedges (Carex) and rushes (Juncus) handle the wettest part of the channel, while ornamental grasses, ferns, and drought-tolerant perennials work well on the moist to dry banks further from the flow path. Native or regionally adapted species generally need less long-term care since they already tolerate your area’s wet-and-dry cycle.
Do I need a permit to build a dry creek bed?
Requirements vary by municipality, so check with your local building department before major excavation, especially if the project changes how water drains toward a neighboring property. Calling 811 before you dig is required in most areas regardless of permit status, since it identifies utility lines on your property.
Recommended
- Yard Swale Design Specs That Deliver 24–48 Hour Drain For Homeowners
- Stop Yard Erosion This Weekend: Action First Fixes For Homeowners
- Driveway Drainage Ideas That Actually Prevent Water Damage
- Downspout Drainage Options: A Homeowner’s Practical Guide
This article was prepared with AI assistance for general information. For recommendations specific to your property, contact Precision Outdoor Solutions. Call or text us at (636) 358-8644.