A durable patio base starts with 4 to 6 inches of compacted crushed rock, 1 to 1.5 inches of bedding sand, and your paver thickness on top, which usually means excavating 8 to 10 inches deep. The compacted base, not the sand, is what keeps your patio flat and stable for years.
TL;DR:
- Set the patio to slope away from the house by 1% to 2%, about 1/8 to 1/4 inch per foot, and recheck after compacting each layer.
- Compact crushed rock in 3 to 4 inch lifts with two perpendicular passes; clay soil or vehicle traffic calls for a deeper base.
- Use concrete sand, screed an even layer, and leave the material loose; extra sand cannot repair a weak base that settles.
- Call 811 before digging, but locate private irrigation, lighting, and shed lines yourself; hand dig nearby and stop if you uncover an unmarked line.
- For a high water table or poorly draining soil, consider an underdrain or permeable pavers, since gravel alone may not move water fast enough.
Table of Contents
- Planning, layout, and excavating to the right depth
- Call 811 and check for private utility lines first
- Setting the slope that keeps water away from your house
- Choosing base material and how deep to compact it
- Compaction technique: lifts, equipment, and field checks
- Bedding sand and screeding for an even paver surface
- When your soil needs fabric or extra drainage help
- Staying safe when you cut pavers
- Common mistakes and a quick pre-lay checklist
- What a contractor checks that most DIYers skip
- What most patio guides get backward
- A professional base install from a qualified landscaping contractor
- FAQ
- Sources
Planning, layout, and excavating to the right depth
Start by adding up your layers: base thickness, bedding sand thickness, and paver thickness. A patio using 2-inch pavers, 5 inches of compacted base, and 1.5 inches of sand needs roughly 8.5 inches of excavation. A thicker base of 6 inches with the same sand and a 3-inch paver pushes that total closer to 10.5 inches.
Before you break ground, set stakes at the corners of your patio and run a string line between them to mark your target elevation and check the slope. This string line becomes your reference point for every layer that follows.
- Remove sod, topsoil, roots, and any organic debris down to stable soil.
- Compact the exposed subgrade before adding any aggregate, since a soft subgrade undermines everything above it.
- Dig deeper than the standard range if the patio will see vehicle traffic or if your soil is soft, wet, or heavy clay.
Clay subgrades in particular benefit from extra base depth, since they hold moisture and shift more than sandy or loamy soil.
Call 811 and check for private utility lines first
Calling 811 gets public utility lines marked for free, but it will not catch everything on your property.
- Have 811 mark gas, electric, water, and sewer lines before you dig.
- Walk your yard and note likely private lines: irrigation tubing, low-voltage landscape lighting, or a buried feed to a shed or detached garage.
- Hand-dig test holes near suspected private lines instead of using powered equipment.
- Stop and call a professional if you hit unmarked lines, need trenches deeper than a couple of feet, or face a tight, complicated site.
Setting the slope that keeps water away from your house
Water follows gravity, so your patio needs a deliberate slope away from the house rather than a flat surface. Industry guidance points to a 1% to 2% slope, which translates to about 1/8 to 1/4 inch of drop per foot, or roughly 1 inch for every 8 to 12 feet of patio depth.
- Set stakes at the house and at the patio’s outer edge, then stretch a string line between them.
- Use a string level or a standard level to check that drop matches your target before you add base material.
- Recheck slope after each compacted layer, since compaction can shift grade slightly.
Pro Tip: Check your slope again right before you lay bedding sand; it’s the last easy chance to fix grade before pavers go down.
If your site has a high water table or poor infiltration, a permeable paver system with an underdrain may handle water better than a standard sloped base. Our guide to patio drainage design walks through how slope and a soil test work together on a real yard.
Choosing base material and how deep to compact it
Angular, well-graded crushed rock, often labeled 3/4 inch minus, locks together under compaction far better than rounded pea gravel, which tends to shift and roll even after you tamp it down.
- Plan for a compacted base depth of 4 to 6 inches for a typical patio.
- Using the earlier math, a 5 inch base plus 1.5 inches of sand plus a 3.5 inch paver adds up to about 10 inches of total excavation.
- Increase base depth beyond 6 inches for driveways, heavy vehicle loads, or soft or clay-heavy subgrade.
- Order about 10% more aggregate than your calculated volume to cover compaction loss and minor spoil.
- Lightly moisten dry aggregate before compacting; damp material locks together more tightly than bone-dry rock.
Clay soil drains slowly on its own, so a properly sized crushed rock base does double duty here: it supports the patio and gives water somewhere to move instead of sitting against the subgrade.
Compaction technique: lifts, equipment, and field checks
Dumping your full base depth in one pass and compacting once is one of the most common shortcuts that leads to settling later. Open-graded aggregates still need mechanical compaction; they do not settle into place on their own no matter how long they sit.
- Compact in 3 to 4 inch lifts, running the plate compactor over each layer before adding the next.
- Use a plate compactor for patios and walkways; heavier rollers are for driveways and larger vehicle-rated areas.
- Make at least two passes per lift, crossing your second pass at a right angle to the first.
- Rent a plate compactor for a weekend project, or bring in a professional for larger or multi-day jobs.
- Check firmness by walking the surface. It should feel solid underfoot with no visible flex or footprints left behind.
Pro Tip: If a lift still feels soft after two passes, run a third pass before moving on, since skipping ahead on a weak lift shows up later as a dip.
Bedding sand and screeding for an even paver surface
Bedding sand gives pavers a thin, uniform cushion to seat into, and it is a different job entirely from the structural base beneath it.
- Use concrete sand, not stone dust or mason’s sand, since concrete sand drains and compacts more predictably under pavers.
- Spread sand to a consistent 1 to 1.5 inch depth across the compacted base.
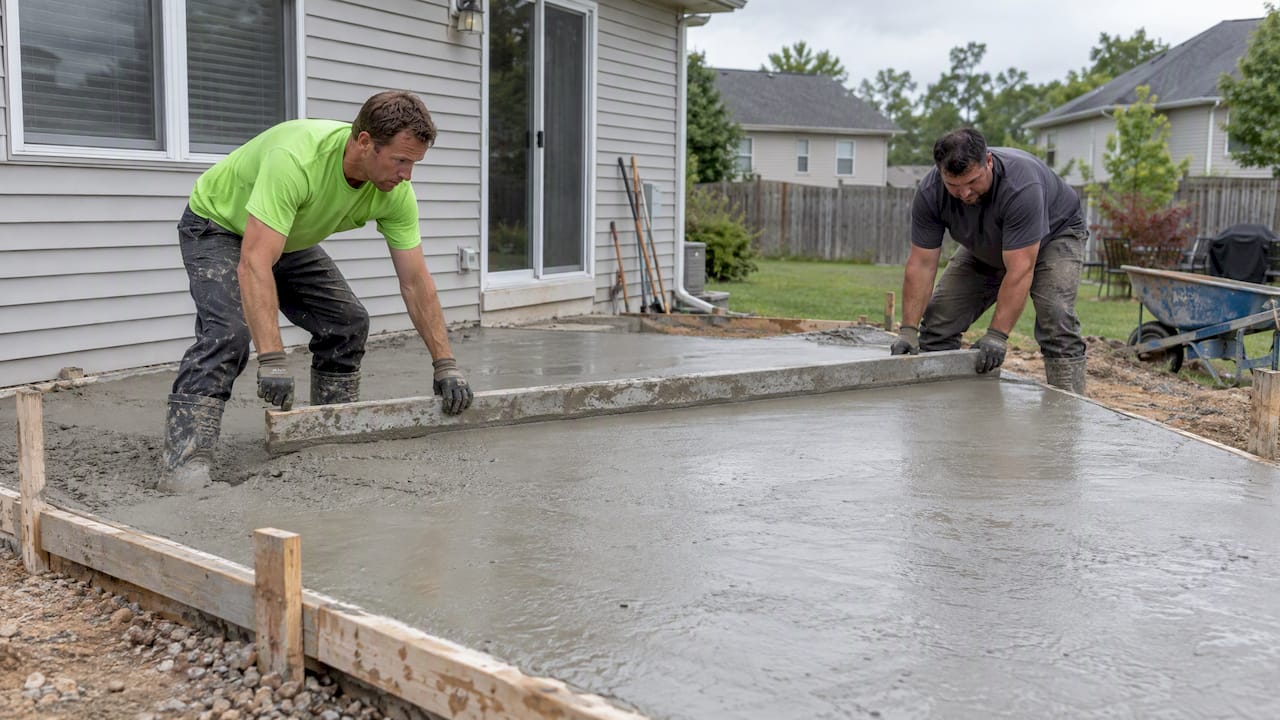
- Lay two PVC pipes or straight rails along the edges of your work area as height guides, then drag a straight 2×4 across them to screed the sand level.
- Leave the screeded sand loose. Do not compact it before placing pavers, since compacting first collapses the cushion you need for a tight, even fit.
Once pavers are set, a final pass with the plate compactor settles them into the sand and helps joint sand filter down between units for lock-up.
When your soil needs fabric or extra drainage help
Geotextile fabric separates your aggregate base from the soil below it, keeping soil particles from migrating up into the rock over time. Clay and silt soils benefit most from geotextile, since fine particles work their way into open-graded rock far more readily than sand does.
- Choose a higher-permittivity woven fabric for clay or silt soil.
- A non-woven, needle-punched fabric is usually fine for stable, sandy soil.
- Add an underdrain if your site has a high water table or soil that drains poorly, since the gravel layer alone may not clear water fast enough.
- Consider a permeable paver base when reducing runoff is a priority, not just moving water off the patio.
Staying safe when you cut pavers
Cutting pavers dry kicks up respirable crystalline silica, a hazard OSHA addresses directly in its guidance for masonry work.
- Cut outdoors with a wet saw, keeping water flowing continuously over the blade.
- Never dry-sweep paver dust. Use a HEPA vacuum for cleanup instead.
- Add a respirator to your routine for extended cutting sessions, and bring in a professional installation crew if your project involves heavy cutting across a large area.
Common mistakes and a quick pre-lay checklist
The most frequent DIY error is using extra bedding sand to patch an uneven, poorly compacted base instead of fixing the base itself. Sand is a thin leveling layer, not a repair material, and leaning on it to smooth out a bad compaction job almost always shows up as settling within a season or two.
- Confirm total excavation depth matches your base, sand, and paver math.
- Verify slope with a string line or level at multiple points.
- Call 811 and document any private utility lines you located.
- Confirm the base is compacted in lifts, not dumped and tamped once.
- Check that bedding sand is screeded evenly and left uncompacted before laying pavers.
For a minor low spot discovered after pavers are down, lifting the affected pavers and adding sand underneath works. A dip larger than an inch or two across several square feet usually means the base itself needs to come up and get reworked.
What a contractor checks that most DIYers skip
With more than 25 years in the field, we rely on a few tolerances that keep a patio flat for the long run rather than just for the first season.
- We hold final compacted base depth to within plus or minus 0.5 inches over a 10-foot span, which prevents washboard-style dips and ridges from showing up later.
- We set grade with string lines and stakes before any aggregate goes down, not after.
- We run the plate compactor in multiple directional passes per lift rather than a single quick pass.
Hiring a professional makes the most sense when your site has complex drainage needs, heavy clay soil, permit requirements, or when you want a contractor-backed warranty behind the finished patio. Our patio drainage solutions page covers how we handle trickier yards.
What most patio guides get backward
Most patio tutorials spend their energy on paver patterns and sand types, when the real failure point almost always sits below the surface. A patio that looks perfect on install day and settles unevenly eighteen months later almost never failed because of the wrong paver. It failed because the base underneath was dumped in one lift instead of compacted in stages, or because nobody checked slope after the fact.
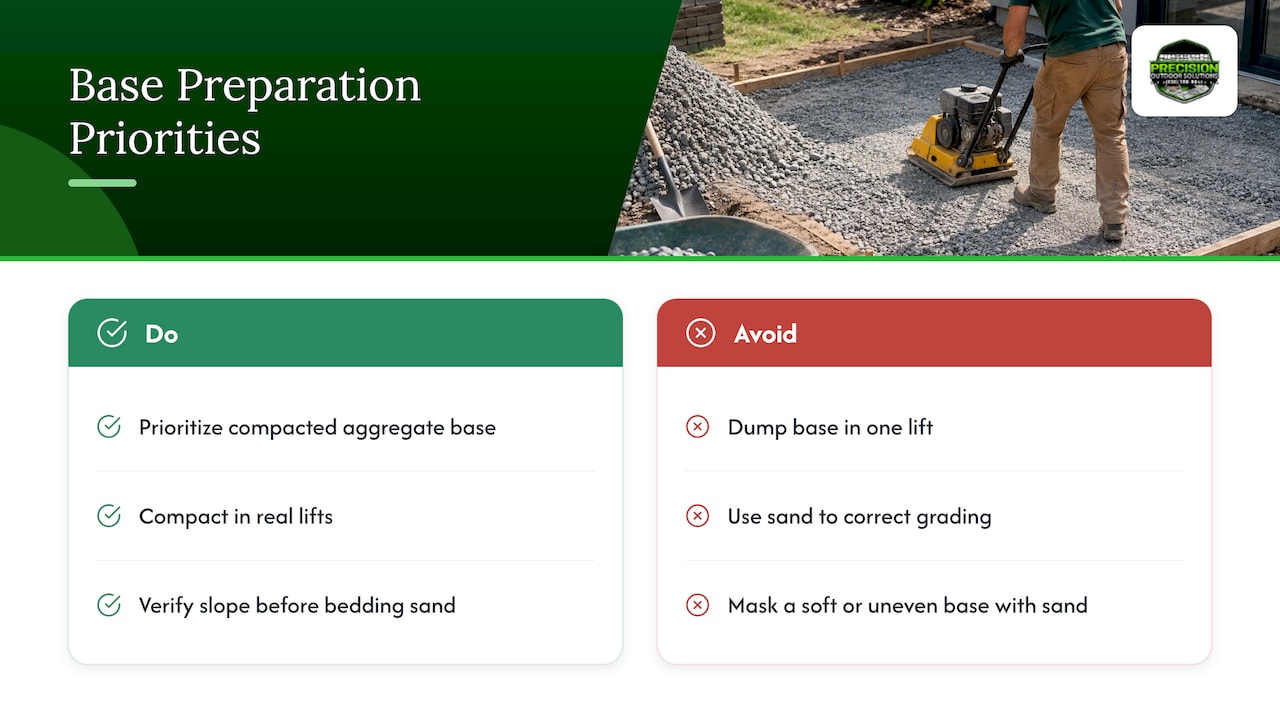
Homeowners also tend to treat sand as a forgiving layer that can fix small grading mistakes. It cannot. Sand is for final seating, not correction, and leaning on it to mask a soft or uneven base is exactly how washboard dips show up down the line.
If you take one thing from this guide, prioritize the compacted aggregate base over everything else. Get the depth right, compact it in real lifts, and verify slope before you ever touch bedding sand. Everything above that layer is cosmetic by comparison.
— Precision Outdoor Solutions
A professional base install from a qualified landscaping contractor
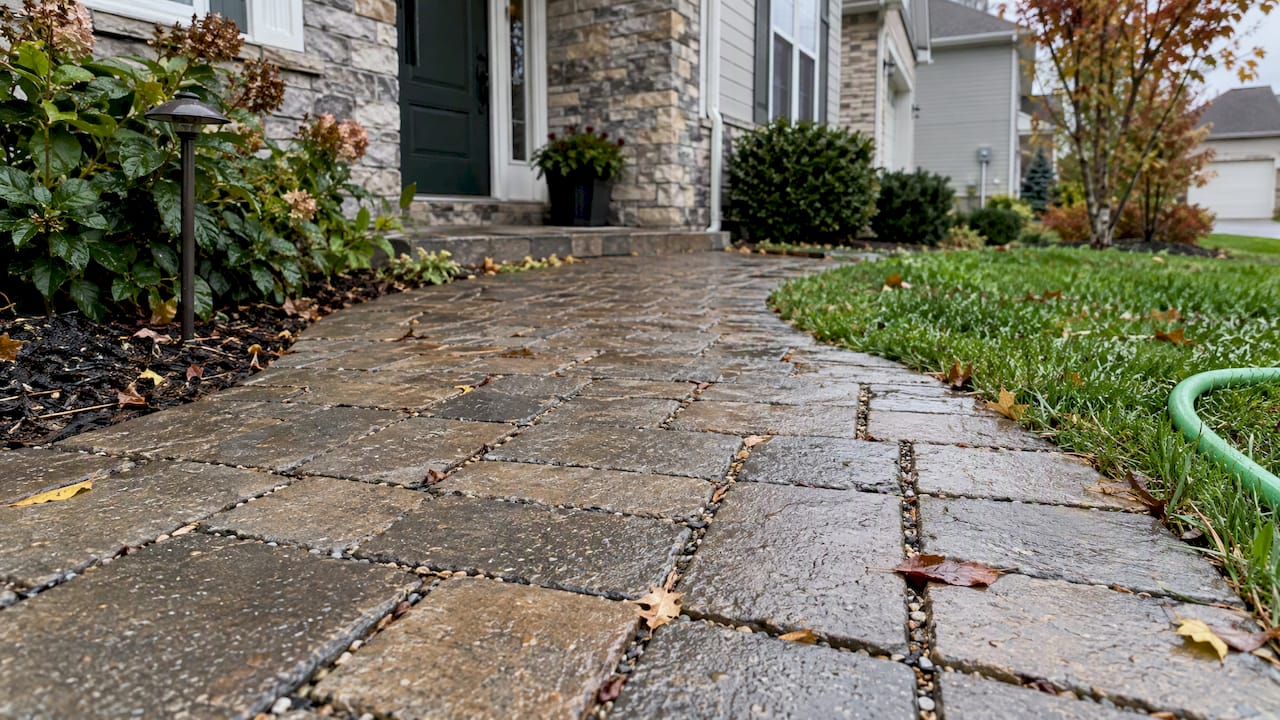
Getting a compacted base right takes the right equipment, the right material, and a few hours most weekends do not have room for, as shown in paver patio installation in Kansas City. We handle the full process through our Hardscape & Patio Installation service, from excavation and subgrade compaction through bedding sand and finished paver setting.

- A site visit to check soil conditions, drainage, and grade before any work starts.
- A clear estimate covering excavation, base material, and labor.
- A compacted base and bedding layer built to hold up through freeze-thaw cycles and heavy rain.
If drainage is part of your concern, our Yard Drainage Solutions in Wentzville, MO team can fold grading and water management into the same project. Reach out for a free estimate and we will walk your yard with you before anything gets dug.
FAQ
Can I skip the gravel and just use sand under pavers?
No. Sand alone does not provide the load-bearing stability that a compacted crushed rock base does, and pavers set only on sand tend to shift and sink within a season. The gravel base carries the weight and drains water away from the pavers.
Can I lay pavers directly on dirt?
No. Bare soil compacts unevenly and holds water against the pavers, which leads to sinking and shifting over time. A compacted aggregate base topped with bedding sand gives pavers a stable, well-drained foundation instead.
Can you lay a patio directly on soil?
Laying a patio straight onto soil skips the structural support and drainage that a proper base provides, and it is not a method extension guides or contractors recommend. Excavating to the correct depth and building up a compacted base and sand layer first protects the patio from settling and pooling water.
Can I lay patio stones directly on sand?
Patio stones need a compacted base beneath the sand, not sand over bare soil. The sand layer should sit on top of 4 to 6 inches of compacted crushed rock, with the sand itself kept to about 1 to 1.5 inches for final leveling.
Sources
- 10-Step Guide to Installing Pavers (Oregon State Extension)
- The myth of self-compacting aggregates (ICPI)
- Patio slabs, porch slabs, walkways and driveways—slope away from house (BASC/PNNL)
Recommended
- Homeowners: Base Prep And Targeted Reinforcement Beat Thicker Concrete
- 1.5% Slope And A Soil Test: Patio Drainage Design For Homeowners
- 5 Patio Repair Options For Homeowners: DIY Fixes Or Call A Pro
- 2% Slope Fix: Patio Drainage Channel Advice For Homeowners
This article was prepared with AI assistance for general information. For recommendations specific to your property, contact Precision Outdoor Solutions. Call or text us at (636) 358-8644.