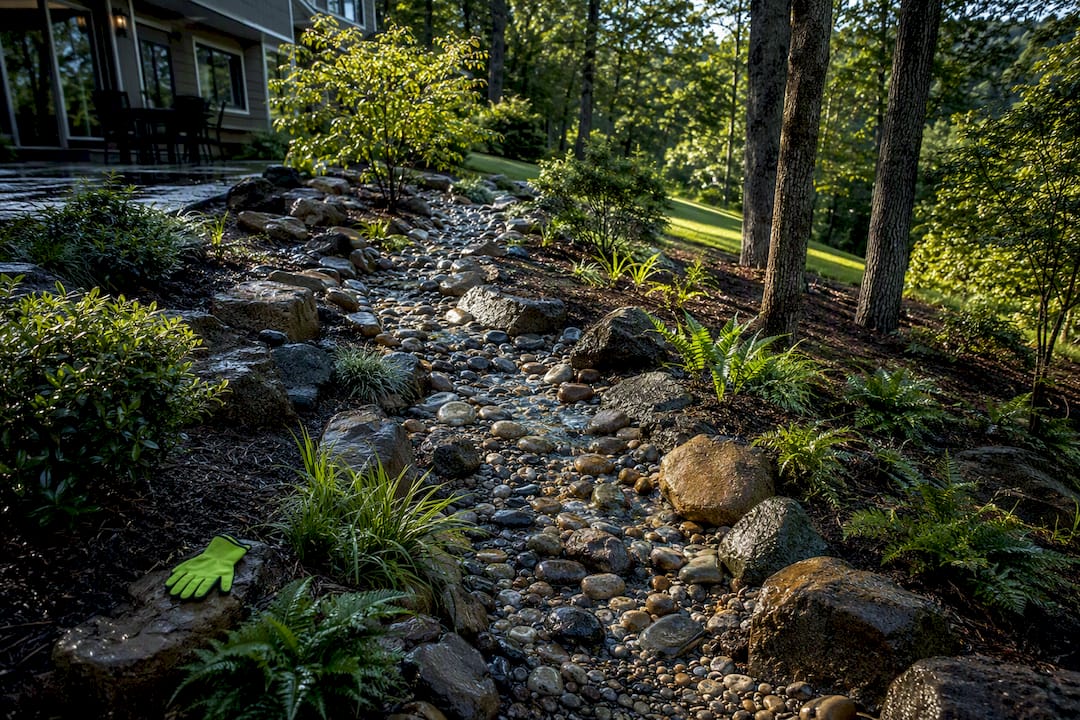
Common landscape edging options include natural stone, brick or pavers, poured concrete, steel or metal, wood, plastic, gravel, and a simple cut or graded edge. The right choice comes down to one question: are you after durability, low cost, or a low-maintenance look? Steel and stone win on durability, plastic and wood win on upfront cost, and gravel or concrete wins if you want minimal upkeep. Read on for installation notes, including the mulch-depth rule, before you buy.
TL;DR:
- Proper site preparation, especially trench depth and soil drainage, is critical for edge longevity and often outweighs material choice; poor prep leads to early failure regardless of material.
- Edging materials like stone, pavers, or concrete require a solid, well-compacted base and site-specific considerations such as slope and drainage to prevent shifting or cracking over time.
- Plastic and wood edging are the most affordable upfront but tend to require frequent repairs and replacements, especially in cold or damp climates if not installed carefully.
- Steady maintenance, including recutting graded edges and monitoring for frost heave or mower damage, extends the lifespan of most edging types.
- A professional installation focused on drainage and soil conditions can reduce overall costs and prevent early failure compared to DIY approaches.
Table of Contents
- 1. Top edging options at a glance
- 2. Material-by-material breakdown: what to expect from each
- 3. Installation basics and site prep that determine longevity
- 4. Design and layout tips for a border that fits your home
- 5. Maintenance, longevity, and what you’ll pay over time
- 6. Contractor perspective: what actually causes edging to fail
- 7. Why the cheapest edge rarely stays the cheapest
- 8. Get a durable edge installed the right way
- Sources
- FAQ
1. Top edging options at a glance
Before you commit to a material, it helps to see how the main options stack up side by side. Each one trades cost, looks, and long-term durability differently, and some are ruled out entirely by site conditions like slope or drainage.
- Natural stone: best for a custom, upscale look; downside is labor-intensive installation and higher cost.
- Brick or pavers: best for formal lines and curves alike; downside is settling if the base isn’t compacted well.
- Poured concrete curbing: best for a seamless, low-maintenance border; downside is a crack risk in freeze-thaw climates.
- Steel or metal edging: best for clean, nearly invisible lines and long-term durability; downside is a higher price than plastic.
- Wood or timber: best for rustic garden beds; downside is rot within a few years without treated lumber.
- Plastic or PVC: best for tight budgets and easy DIY; downside is heaving and cracking in cold climates.
- Gravel or pea stone: best for dry, low-maintenance borders; downside is scatter and mower damage over time.
- Cut or graded edge: best for a natural, no-material look; downside is regular recutting to hold its shape.
Steep slopes rule out loose gravel and stacked stone unless they’re anchored, and poor drainage will undermine almost any edging material if it isn’t addressed first.
2. Material-by-material breakdown: what to expect from each
Stone edging, whether fieldstone, flagstone, or cut pavers, holds up for decades when it’s set on a compacted base and doesn’t rely only on gravity to stay put. Loose-laid stone can shift over a season or two, especially on a slope, while mortared stone lasts far longer but costs more to install. Brick and paver edging follows a similar rule: dry-laid units settle and drift without a solid base, while a properly trenched and compacted installation can hold a crisp line for many years.
Poured concrete curbing gives you a continuous, low-maintenance border, but it needs control joints to manage cracking from freeze-thaw cycles, and repairs mean cutting out and repouring a section rather than a quick fix. Steel and aluminum edging bends cleanly around curves and resists heaving better than plastic, but uncoated steel will rust over time unless it’s galvanized or powder-coated.
Wood and timber edging is affordable and easy to work with, but untreated wood rots within a few years in damp soil, and even pressure-treated lumber typically needs replacing within a decade. Plastic and PVC edging is the cheapest option to buy and the easiest to install yourself, but according to guidance from Kansas State University’s edging fact sheet, that low upfront cost often comes with higher lifetime maintenance, since plastic tends to heave in freeze-thaw cycles unless it’s anchored deeply into a compacted base. Gravel edging, particularly pea gravel, works well as a dry border and helps with drainage, but it scatters into lawns and can damage mower blades if it isn’t contained.
- Stone and pavers: medium to high cost, decades of life with a good base.
- Concrete curbing: medium to high cost, low maintenance once cured.
- Steel or aluminum: medium cost, very durable if coated against rust.
- Wood or timber: low cost, shortest lifespan without treatment.
- Plastic or PVC: lowest cost, most prone to failure in cold climates.
Professional installation earns its cost back on stone, concrete, and steel, since these materials depend on precise base work to avoid early failure.
3. Installation basics and site prep that determine longevity
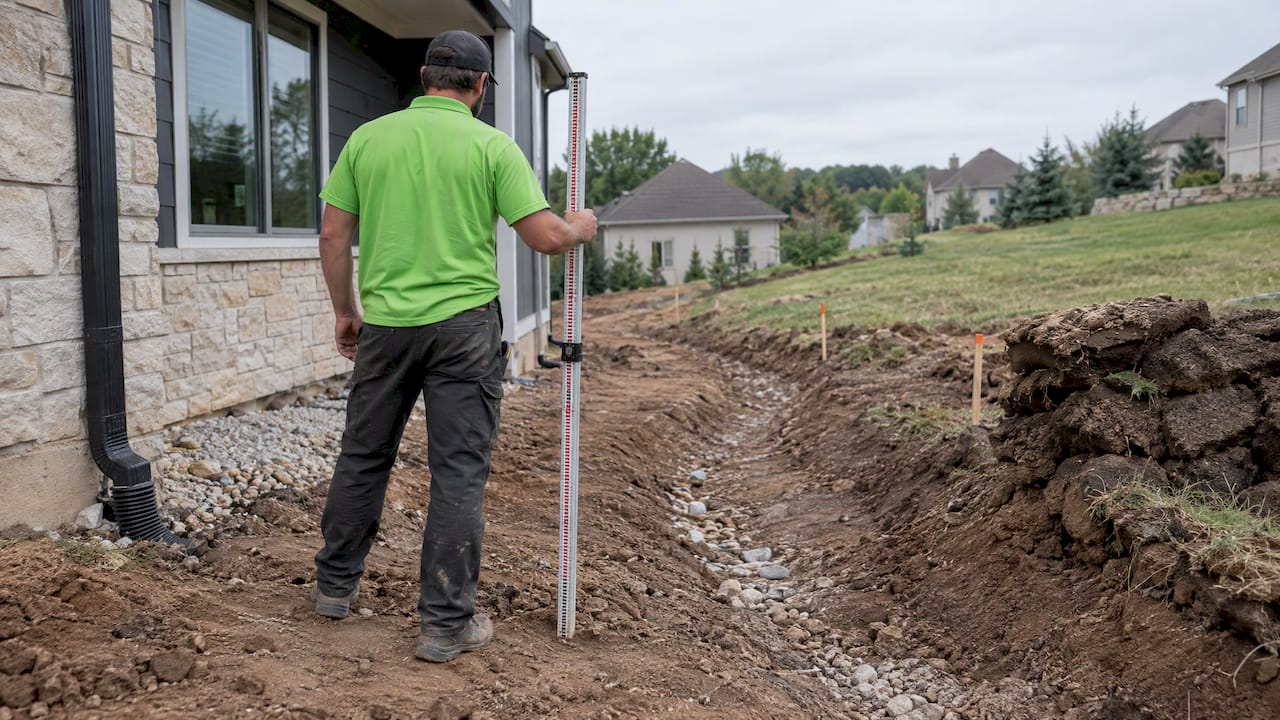
Most edging fails at the base, not the material. A trenched installation, where the edging sits below grade in a compacted channel, holds up far better than anything just set on top of the soil. Standard guidance calls for a trench around several inches deep and wide for hand-cut or header installations, according to Kansas State University’s edging guide.
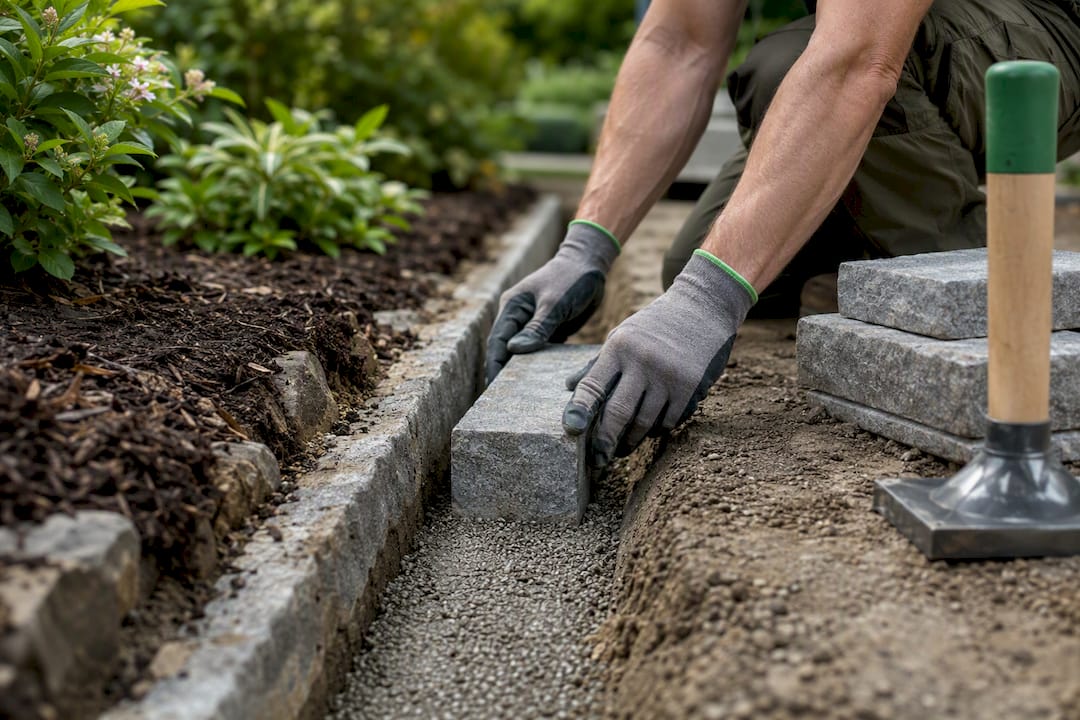
2 to 3 inches of mulch is the standard depth for most beds, with 3 to 4 inches for larger wood chips, according to Colorado State University Extension. Edging that sits too high or too low relative to that mulch line looks uneven and lets material spill over.
A basic homeowner checklist looks like this:
- Evaluate drainage and soil type before choosing a material.
- Dig the trench to the recommended depth and width.
- Compact the base so the edging doesn’t shift or sink.
- Install the edging and check alignment as you go.
- Backfill and compact soil on both sides.
Frost heave and standing water are the two biggest causes of edging failure, since freeze-thaw cycles push shallow-set materials upward and saturated soil erodes the base underneath them.
4. Design and layout tips for a border that fits your home
Edging should echo something already in your landscape, whether that’s the color of your siding, the shape of your patio, or the texture of your plant beds. For curved beds, flexible steel or paver bands read as more intentional than individually placed stones, which tend to look choppy on tight curves. At transitions, like where a bed meets a patio or driveway, match the edging height to the adjoining surface so there’s no trip hazard or awkward gap.
- Choose a subtle graded edge for a natural, low-visibility look.
- Choose a bold hardscape border, like stone or steel, to define a formal space.
- Keep sightlines in mind: edging near a patio or walkway should read at a comfortable eye level rather than disappearing or dominating.
Pro Tip: Walk the border line from the spots you’ll actually see it from most, like a kitchen window or the patio, before finalizing height and material.
5. Maintenance, longevity, and what you’ll pay over time
Every material asks something of you eventually. Stone and pavers need occasional resetting if they shift. Metal edging may need touch-up paint if the coating chips. Wood timbers eventually rot and need full replacement. Mulch and gravel both need replenishing as they settle or scatter.
- Recut graded edges once or twice a year to keep a crisp line.
- Watch for mower-damaged gravel scattered into the lawn.
- Check plastic edging each spring for freeze-thaw heaving.
- Budget for wood replacement within about a decade, sooner if untreated.
A professional install that gets the base and drainage right the first time usually costs less over a decade than repeated DIY fixes on a poorly prepped edge.
6. Contractor perspective: what actually causes edging to fail
The single biggest mistake homeowners make is choosing a material before evaluating drainage and soil. An edge that looks great going in will fail early over wet clay or on a slope without proper anchoring. Watch for a contractor who inspects your site, proposes a drainage plan when needed, and stands behind the work with a clear warranty and cleanup.
7. Why the cheapest edge rarely stays the cheapest
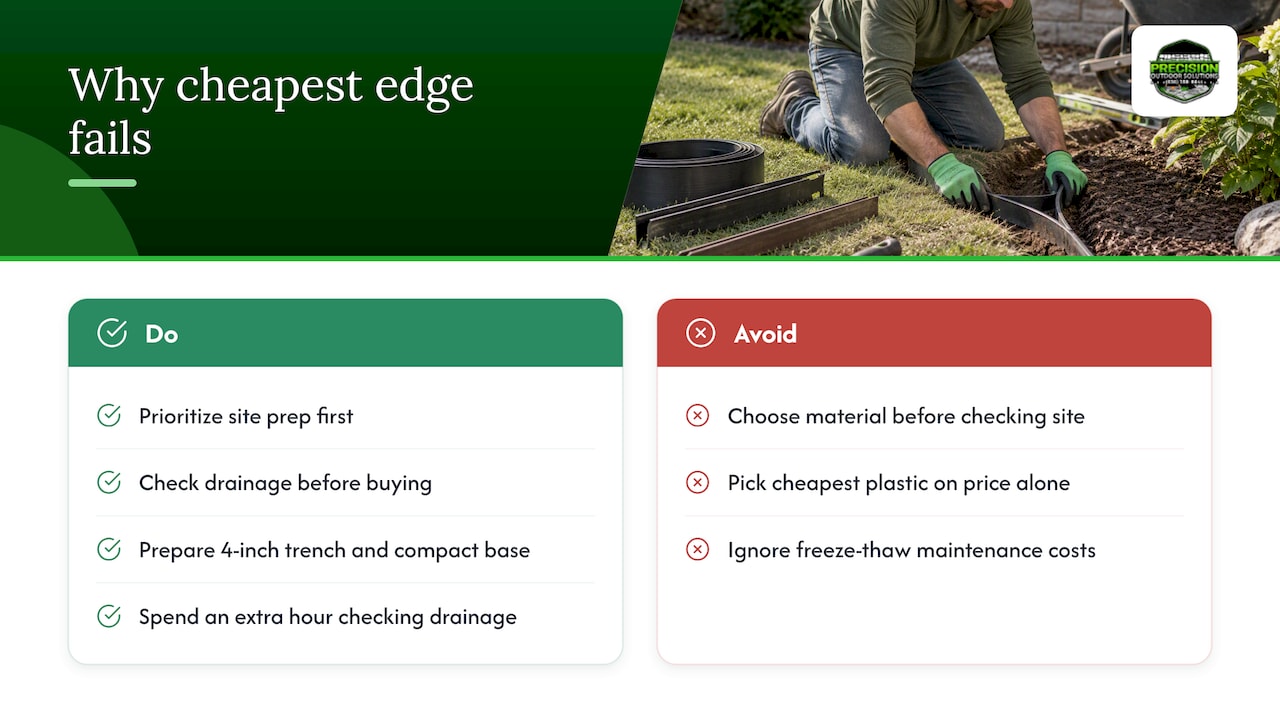
The advice you’ll see most often ranks edging by price per foot, and that misses the point. Plastic edging costs the least to buy and the most to maintain once freeze-thaw cycles start pushing it out of the ground. The material that looks like the smart budget choice on day one is often the one you’re replacing or resetting every spring.
What actually determines whether an edge lasts is the four inches you never see: the trench depth, the base compaction, and whether the site drains properly before anything gets installed. A homeowner who spends an extra hour checking drainage saves years of frustration compared to one who picks a material first and hopes the ground cooperates. Prioritize site prep over the material catalog, and the material choice gets a lot easier.
— Precision Outdoor Solutions
8. Get a durable edge installed the right way
Professional landscapers design and install stone, paver, and concrete edging with drainage and soil conditions evaluated first, not as an afterthought. If your yard has tricky grading or you want a landscape design built around a lasting border, request a site visit to get started.

Sources
FAQ
What is the best type of landscape edging?
There’s no single best type: steel and natural stone offer the most durability, while plastic and wood cost less upfront but need more upkeep. According to Kansas State University, site preparation matters more to long-term performance than the material itself.
What is the 3 inch edging rule?
This refers to mulch depth rather than the edging material itself. Colorado State University Extension recommends 2 to 3 inches of mulch for most garden beds, with up to 4 inches for larger wood chips, and dropping the soil level by 3 inches can help keep mulch at grade next to your edging.
What is the most affordable landscape edging?
A simple cut or graded edge, dug as a V-shaped trench about 4 inches deep and wide, is one of the cheapest and most effective options, according to Kansas State University’s guide. Plastic edging costs little to buy but tends to need more repairs over time.
What to use instead of landscape edging?
A cut or graded edge, maintained with a spade or edging tool once or twice a year, gives beds a clean line without installing any material, per University of Illinois Extension. Mulch-only beds without a defined border are another option, though they need more frequent hand trimming to stay tidy.
Recommended
- 4 Weekend Wins For Low Maintenance Landscaping Homeowners Can Do
- Ask For Post Depth: Contractor Backed Fencing Advice For Homeowners
- Small Backyard Landscaping: Weekend Wins And 25+ Years Contractor Tips
- Target Sightlines To Fix Backyard Privacy Landscaping For Homeowners
This article was prepared with AI assistance for general information. For recommendations specific to your property, contact Precision Outdoor Solutions. Call or text us at (636) 358-8644.