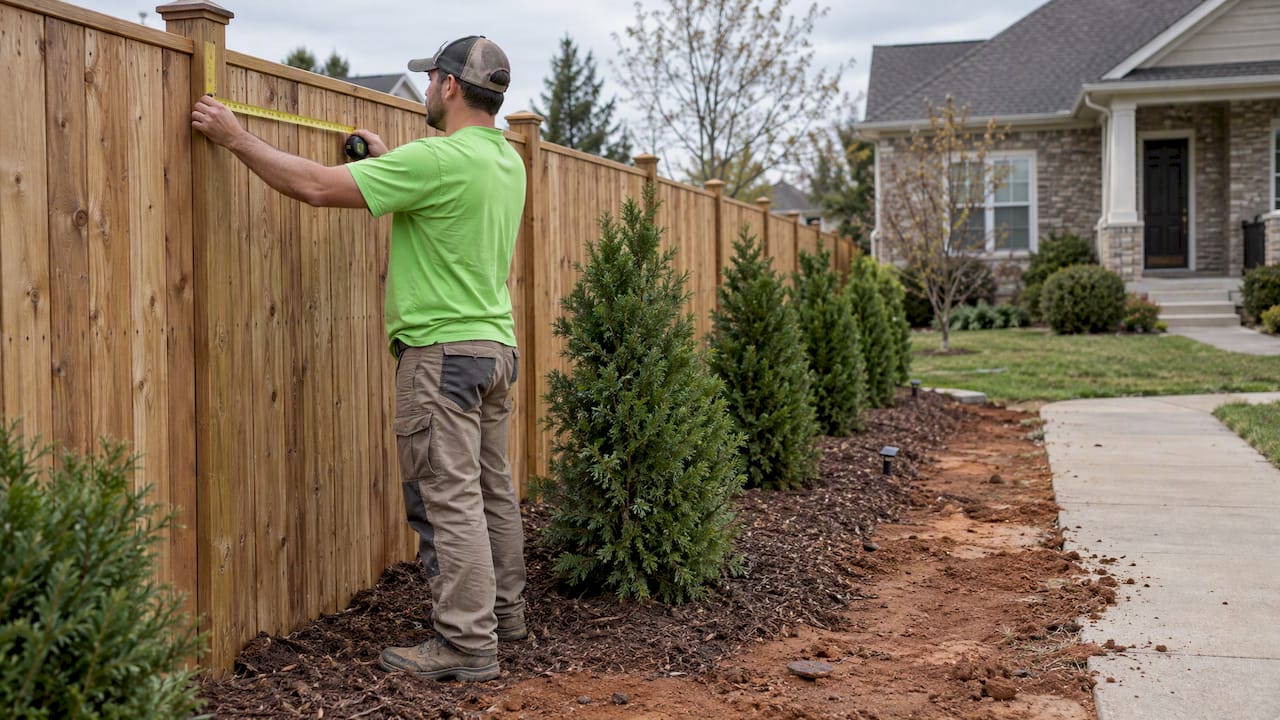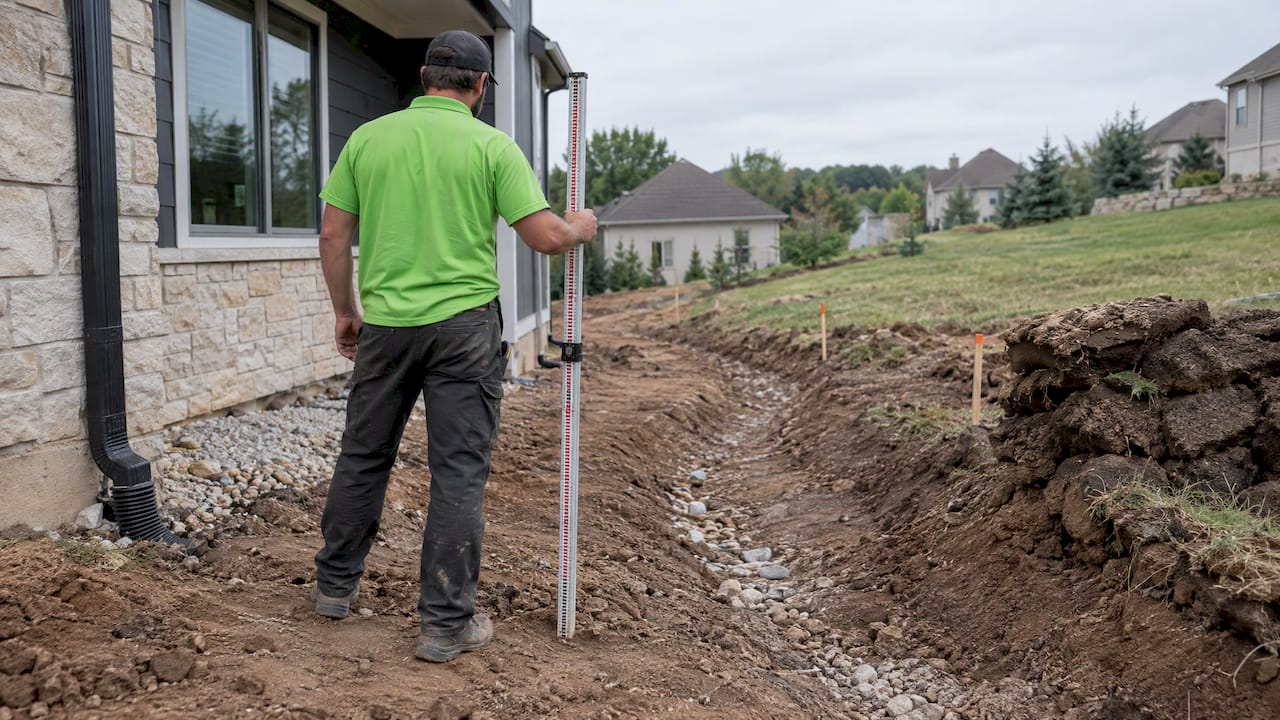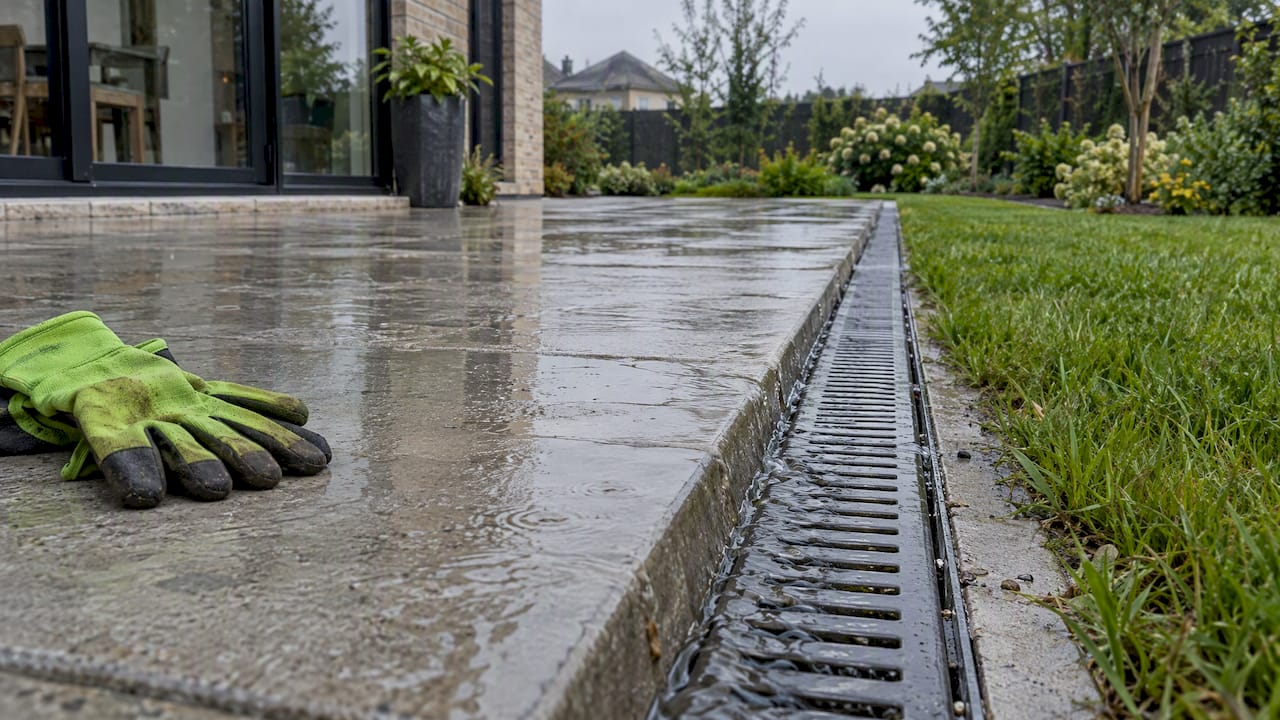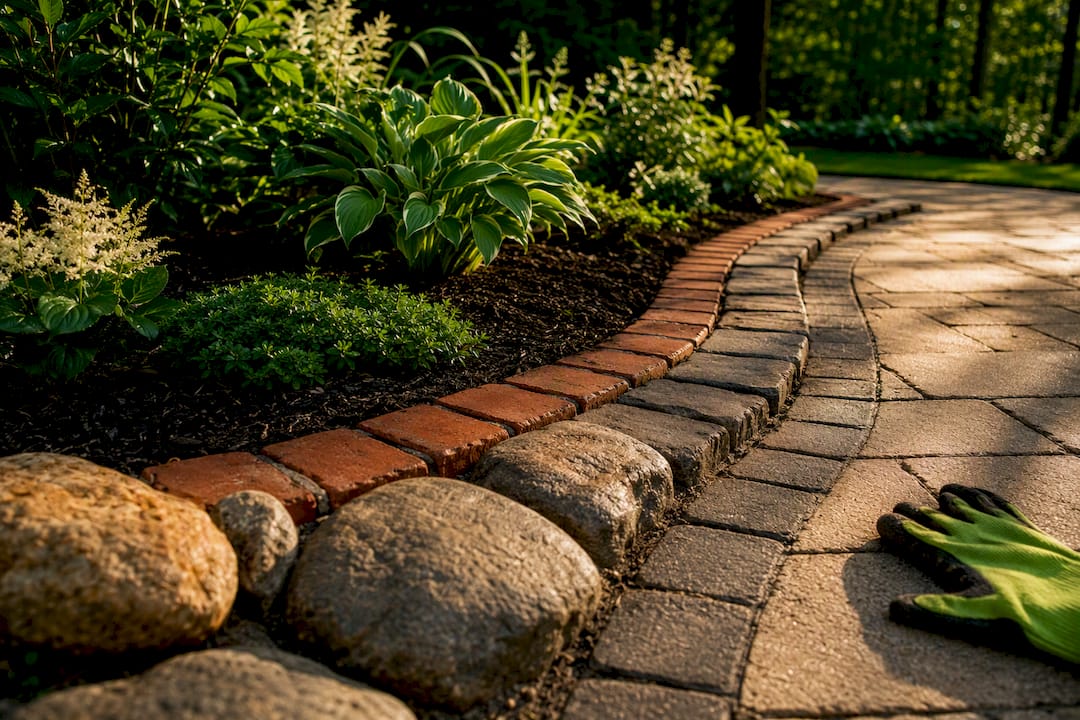
Most residential retaining walls need geogrid once they climb past approximately 4 feet, and the threshold drops lower if there’s a driveway, patio, slope, or heavy soil pushing against the back of the wall. Geogrid turns loose backfill into a reinforced soil mass that holds itself together instead of relying on gravity block weight alone. If your project is anywhere near that height or has any of those extra loads, talk to a contractor or an engineer before you order materials.
TL;DR:
- Most retaining walls over 4 feet or with surcharge loads, slopes, or weak soils require geogrid reinforcement to prevent failure.
- Uniaxial geogrid is the correct type for walls, with proper strength, spacing, and embedment calculated based on site-specific conditions.
- Proper installation involves taut placement, anchor by block weight, no splices within embedment, and adequate backfill drainage to ensure performance.
- Drainage with clean aggregate and outlet pipes is essential, as geogrid only handles tension, not water pressures and hydrostatic buildup.
- Walls near or above 4 feet, on slopes, or with additional loads should be inspected or built by a professional to ensure long-term stability.
Table of Contents
- What Is a Geogrid Retaining Wall and How Does It Work?
- When Do You Actually Need Geogrid in a Retaining Wall?
- What Type of Geogrid Should You Use?
- How Do You Choose Strength, Spacing, and Embedment?
- How Do You Install Geogrid the Right Way?
- Why Drainage Matters as Much as the Geogrid Itself
- When Should You Call a Contractor or Engineer?
- Our Take: Where DIY Geogrid Advice Falls Short
- Get an Engineered Retaining Wall Built Right the First Time
- Sources
- FAQ
What Is a Geogrid Retaining Wall and How Does It Work?
A geogrid retaining wall is a reinforced structure where horizontal layers of polymer mesh get built into the soil behind the wall face, locking soil particles in place through friction and interlock at the aperture openings. Instead of the wall block alone holding back the earth, the geogrid grabs the soil and transfers tension back into the reinforced zone, spreading the load over a much wider area.
This is the core difference between a gravity wall and a reinforced soil wall. A gravity wall depends entirely on its own mass and block friction to resist pressure. A geogrid retaining wall behaves more like a single, cohesive unit, because the reinforced backfill and the block facing move together under load. Allan Block’s design guidance describes this as creating a reinforced soil mass, with connection strength between the block and grid tested as part of overall wall stability.
A few mechanics matter more than people expect:
- Soil particles interlock inside the grid’s apertures, so the grid doesn’t just sit in the dirt, it becomes part of it.
- Tensile load travels along the grid’s strong axis and out into stable soil beyond the failure plane.
- Uniaxial geogrid is manufactured with its strength concentrated in one direction, which is exactly the load path a retaining wall creates.
Get that orientation wrong and the wall may look fine for a season or two before it starts to lean.
When Do You Actually Need Geogrid in a Retaining Wall?
Height is the first trigger, but it’s rarely the only one. Geofantex’s guidance on geogrid requirements notes that walls over 4 feet generally require reinforcement, and some block systems call for it starting at around 4 feet depending on the product and soil conditions. That’s a useful rule of thumb, not a hard line, because several other factors can push the requirement lower.
- Wall height. Walls under 3 feet with good soil and no extra load can often get by on gravity design alone. Past that, geogrid becomes the norm rather than the exception.
- Surcharge loads. A driveway, patio, shed, or parked vehicle sitting above the wall adds pressure that a plain gravity wall wasn’t designed to handle, which can trigger a geogrid requirement well below 4 feet.
- Slopes above the wall. A sloped grade behind the wall increases lateral pressure compared to flat backfill, and steeper slopes call for reinforcement sooner.
- Soil type and drainage. Clay-heavy or poorly draining soil holds water and swells, adding pressure the wall design has to account for. Sandy, well-draining soil behaves more predictably.
If your project checks two or more of these boxes, geogrid isn’t optional. It’s the difference between a wall that lasts decades and one that bulges by year three. Homeowners dealing with sloped yards should also look at how retaining walls for sloped sites get engineered differently from flat-lot builds.
What Type of Geogrid Should You Use?
Geogrid comes in a few configurations, and picking the wrong one is one of the most common and most expensive mistakes on a DIY job. Uniaxial geogrid concentrates tensile strength in the machine direction, which lines up with how a retaining wall pulls on the reinforcement. Biaxial and tri-axial grids distribute strength in multiple directions and are built for base and subgrade stabilization under roads and pavements, not wall reinforcement. Tensar’s wall and slope guidance is explicit that uniaxial is the correct product family for retaining wall applications.
Datasheets throw around a few terms that matter more than the marketing copy around them:
- UTS (Ultimate Tensile Strength) is the raw strength a manufacturer measures in a lab, not a design number.
- LTADS (Long-Term Allowable Design Strength) is UTS after reduction factors for installation damage, creep, and durability. This is the number an engineer actually designs with.
- Residential jobs typically land in modest LTADS ranges compared to commercial MSE walls, but the exact figure depends on the block system and soil.
- Aperture size needs to be compatible with your backfill gradation. Too fine a backfill won’t interlock properly with a coarse-aperture grid.
Ask any supplier for the LTADS value, not just the UTS printed on the roll label.
How Do You Choose Strength, Spacing, and Embedment?
This is where a wall goes from “looks right” to “engineered right.” Spacing and embedment aren’t guesses. They’re calculated from wall height, soil strength, and surcharge, and most manufacturer literature converges on a workable range for residential projects.
- Vertical spacing typically runs between certain typical ranges around a few inches between layers, with a common starting point used by designers for mid-height residential walls, according to Tensar’s design specifications.
- Embedment length should extend about two-thirds of the total wall height back into stable soil, with most guidance calling for a minimum length in feet for shorter walls.
- Layer count rises with wall height and with any surcharge load. A 5-foot wall with a driveway above it needs more layers, spaced tighter, than a 5-foot wall with nothing but grass behind it.
Statistic to remember: short embedment is one of the most frequently cited causes of geogrid pullout failure, according to Allan Block’s installation guidance, which flags connection testing and adequate embedment length as central to long-term wall stability.
A systematic review of geogrid-reinforced soil walls makes a point worth sitting with: even with good materials, wall performance hinges on site-specific parameters, reinforcement length, spacing, and facing inclination, calculated through appropriate engineering analysis methods. That’s engineer language for “the math changes with your yard,” which is exactly why a cookie-cutter spacing chart from the internet shouldn’t be the final word on a wall over 4 feet.
How Do You Install Geogrid the Right Way?
Installation sequencing matters as much as the material choice. Skip a step here and the strength numbers on the datasheet become irrelevant.
- Build the block wall up to the exact elevation called for in the grid layer schedule, then stop and check the course is level before laying any grid.
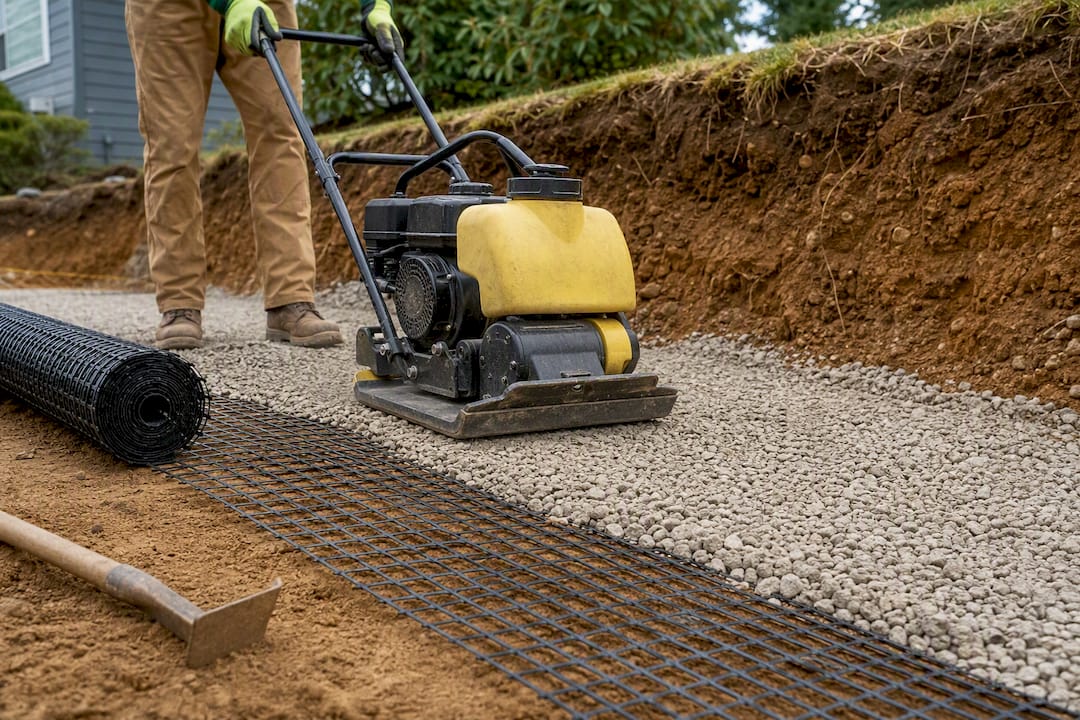
- Roll the geogrid out flat and taut across the backfill area, with the strong (machine) direction running perpendicular to the wall face, never parallel to it.
- Anchor the grid at the wall face using the weight of the next block course. Skip adhesives or staples as the primary anchor. They aren’t a substitute for mechanical connection.
- Pull the grid to full embedment length with no slack, and avoid splicing rolls end to end across that embedment distance, since splices reduce pullout resistance exactly where the wall needs it most.
- Backfill in lifts of about 6 inches, compacting each lift before adding the next, using Versa-Lok’s installation sequencing as a general reference for course-by-course grid placement.
- Use clean, angular aggregate in the reinforced zone, run compactor passes parallel to the wall face, and hand-tamp the last foot or two near the block to avoid knocking facing units out of alignment.
Pro Tip: Order your geogrid rolls long enough to reach full embedment without a splice. A single unplanned seam in the reinforced zone can undo the strength calculation the whole layer schedule was built around.
The mistakes that sink DIY walls almost always trace back to one of four things: using biaxial grid instead of uniaxial, cutting embedment short to save material, building the reinforced zone with wet or cohesive soil instead of clean aggregate, or skipping compaction between lifts because it’s slow and tedious. Any one of those alone can cause a bulge. Combine two and you’re looking at a wall that fails within a few wet seasons.
Why Drainage Matters as Much as the Geogrid Itself
Geogrid handles tensile load, not water. It doesn’t replace drainage, and treating it like it does is how otherwise well-built walls fail from the inside out.
The reinforced zone needs clean, angular, well-graded aggregate, never native clay or silty fill, because those materials trap water and lose strength when saturated. Behind that zone, a drainage pipe with a gravity outlet keeps water from building up and creating hydrostatic pressure the wall was never designed to resist. Ledge’s field guidance on geogrid walls points out that poor drainage or fine, cohesive fill in the reinforced zone can cause failure even when the geogrid itself was installed correctly.
- Compact every lift to the specified density, often 95% relative compaction on engineered projects, checked with a proctor test.
- Route the drain pipe to a gravity outlet, not a dead end where water pools against the wall.
- Never let the reinforced zone become the low point where surface water collects.
A detailed breakdown of pipe placement and outlet routing lives in our retaining wall drainage guide, worth a read before you finalize any wall design.
When Should You Call a Contractor or Engineer?
Certain conditions should send you straight to a professional rather than a spec sheet: walls over 4 feet, any surcharge from a driveway or structure, visibly weak or wet soil, slopes above the wall, or a wall built near a foundation, septic system, or property line.
When you do call someone, ask direct questions: Who is specifying the LTADS value and why? What’s the backfill and compaction spec in writing? What’s the embedment length for each layer, and does it meet the 60 to 70% guidance? Is there a warranty on workmanship, not just materials?
An engineered retaining wall built with a real layer schedule and inspected compaction outperforms a guessed-at DIY wall almost every time on walls near these thresholds.
Our Take: Where DIY Geogrid Advice Falls Short
Most online geogrid guides treat spacing and embedment numbers like a universal recipe. They’re not. The ranges you’ll see repeated everywhere, 8 to 24 inches of spacing, 60 to 70% embedment, are legitimate starting points, but they’re not a substitute for knowing your soil, your surcharge, and your drainage situation. A homeowner who plugs generic numbers into a 5-foot wall with a driveway above it is making an educated guess where an engineer would run an actual calculation.
Here’s what we’d push back on: the idea that geogrid installation is purely a materials problem. In our experience, the walls that fail aren’t usually failing because someone bought the wrong roll of mesh. They’re failing because compaction got rushed, drainage got treated as optional, or embedment got shortened to avoid digging into a property line. Prioritize the boring stuff first: soil test, drainage plan, compaction schedule. The geogrid spec is often the easiest part to get right and the first thing people worry about.
Get an Engineered Retaining Wall Built Right the First Time
Precision Outdoor Solutions designs and builds reinforced retaining walls around your actual site conditions, not a generic spacing chart, using proper geogrid selection, compaction, and drainage on every job across Wentzville, MO and St. Charles County.

With extensive local installation experience, we have learned which shortcuts cause callbacks and design around them from the start. If your wall is anywhere near that 3.5 to 4 foot threshold, has a driveway or slope above it, or you’re just not sure which way this project should go, get a retaining wall consultation before you buy materials. We’ll walk the site, talk through soil and drainage, and give you a straight answer on what the wall actually needs.
Sources
- Essential geogrid requirements for retaining walls — Geofantex
- Retaining wall — Tensar
- Reinforced soil walls — Allan Block
- A systematic review of geogrid-reinforced soil retaining wall — Geomate Journal
FAQ
Is Geogrid Necessary for a Retaining Wall?
It becomes necessary once a wall passes roughly 3.5 to 4 feet, or sooner if there’s a surcharge load, slope, or weak soil behind it, since manufacturer guidance treats those as standard triggers for reinforcement.
Does a 4 Foot Retaining Wall Need Geogrid?
A 4 foot wall often sits right at the threshold where geogrid becomes required, and if there’s any driveway, patio, or slope above it, reinforcement should be treated as necessary rather than optional.
What Are the Downsides of Geogrid?
Geogrid adds material and labor cost, requires wider excavation behind the wall for embedment length, and demands correct backfill and compaction. Get any of those wrong and the reinforcement won’t perform as designed.
How Do You Attach Geogrid to a Retaining Wall?
Geogrid isn’t glued or stapled to the block. It’s laid flat between courses and held in place by the weight of the next block course above it, with the strong direction running perpendicular to the wall face.
Can You Install Geogrid Yourself, or Should You Hire a Pro?
Short walls under 3 feet with simple soil conditions are within reach for a careful DIYer. Anything taller, loaded, or sloped is better handled by a contractor experienced with engineered retaining walls, since the margin for error narrows fast as height and load increase.
Recommended
- Fix A Failing Retaining Wall: Homeowner’s Repair Guide
- Retaining Wall Drainage: A Practical Homeowner’s Guide
- Retaining Walls For Slopes: Your Complete Planning Guide
This article was prepared with AI assistance for general information. For recommendations specific to your property, contact Precision Outdoor Solutions. Call or text us at (636) 358-8644.